NES Toploader AV Mod – Disassembly
To jump between posts in this series, please visit the NES Mod Index.
Now it’s time to bust open the NES and see how everything looks inside. Fortunately aside from a funky screwdriver for the outside screws there isn’t really anything that’s complicated about getting it open. While you are working, be sure to keep all the various screws somewhere you won’t lose them, and also try to keep them straight so you know where to put them back in later. For this mod that’s pretty easy, if it’s a Phillips head screw it goes inside and if it’s a funky screw it goes outside.
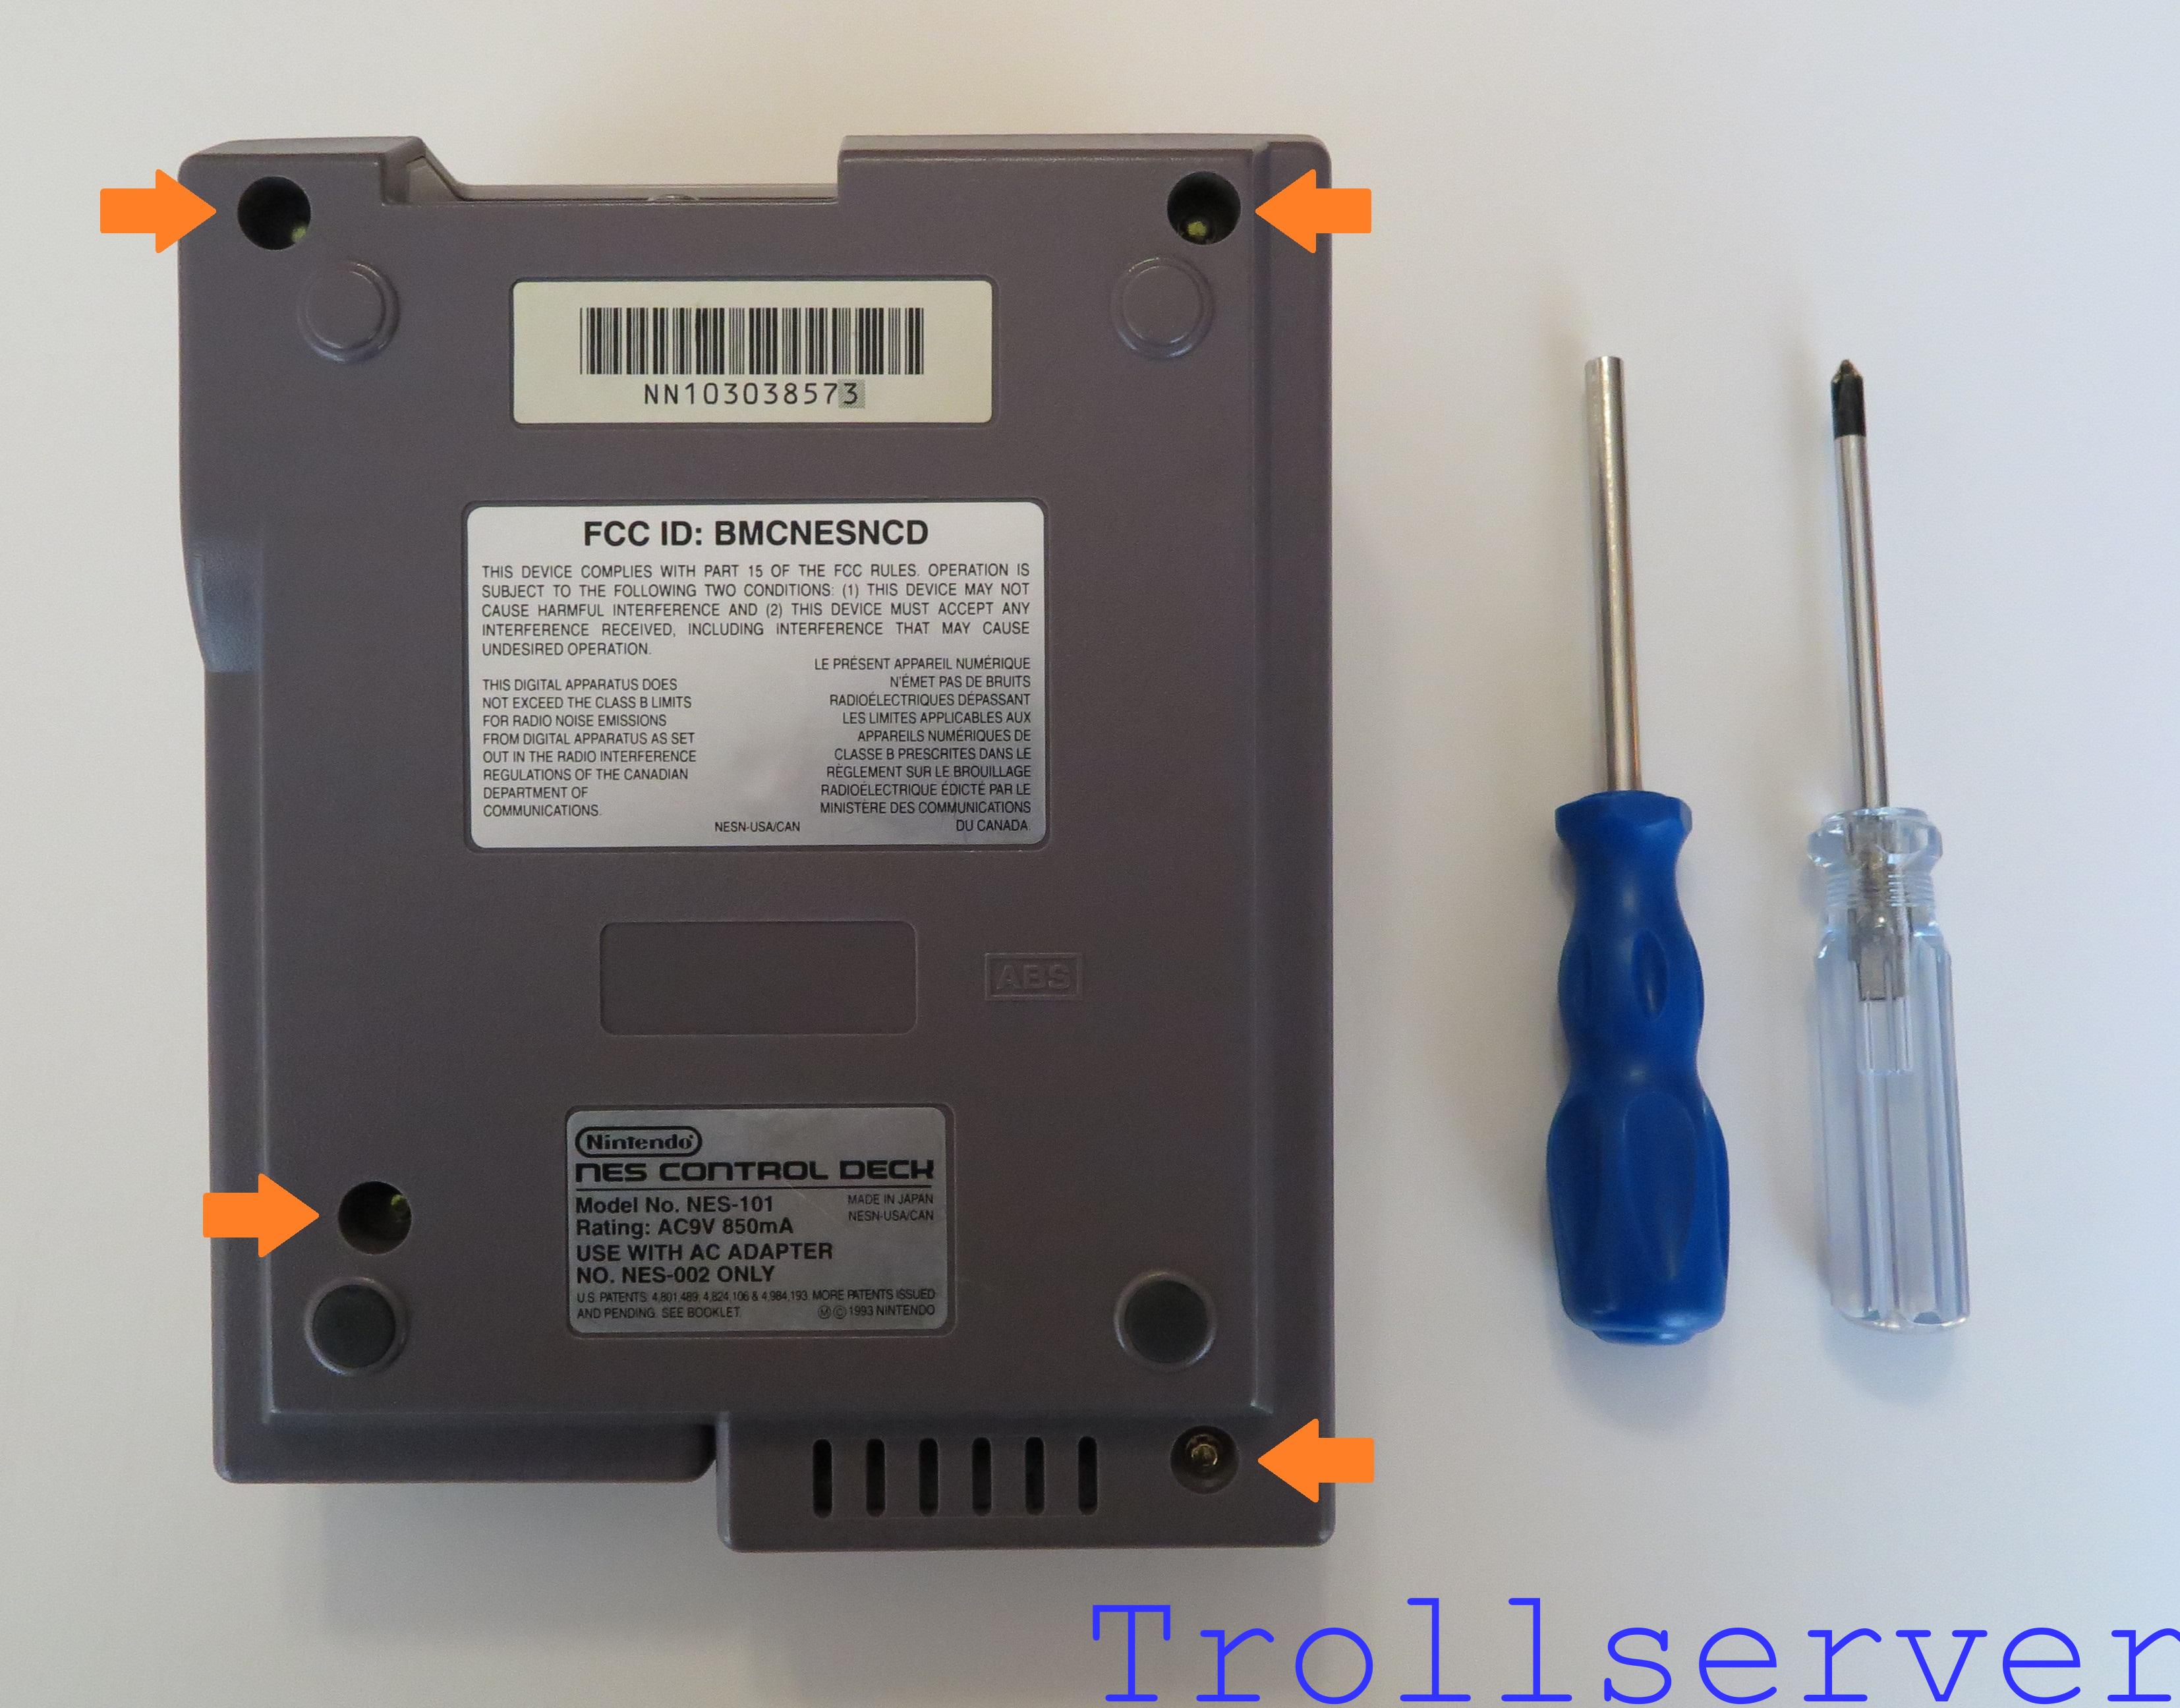
The first step is to flip the NES over. There are 4 screws on the bottom that need to be removed with the security screwdriver to get the NES open. I’ve highlighted them with big orange arrows.
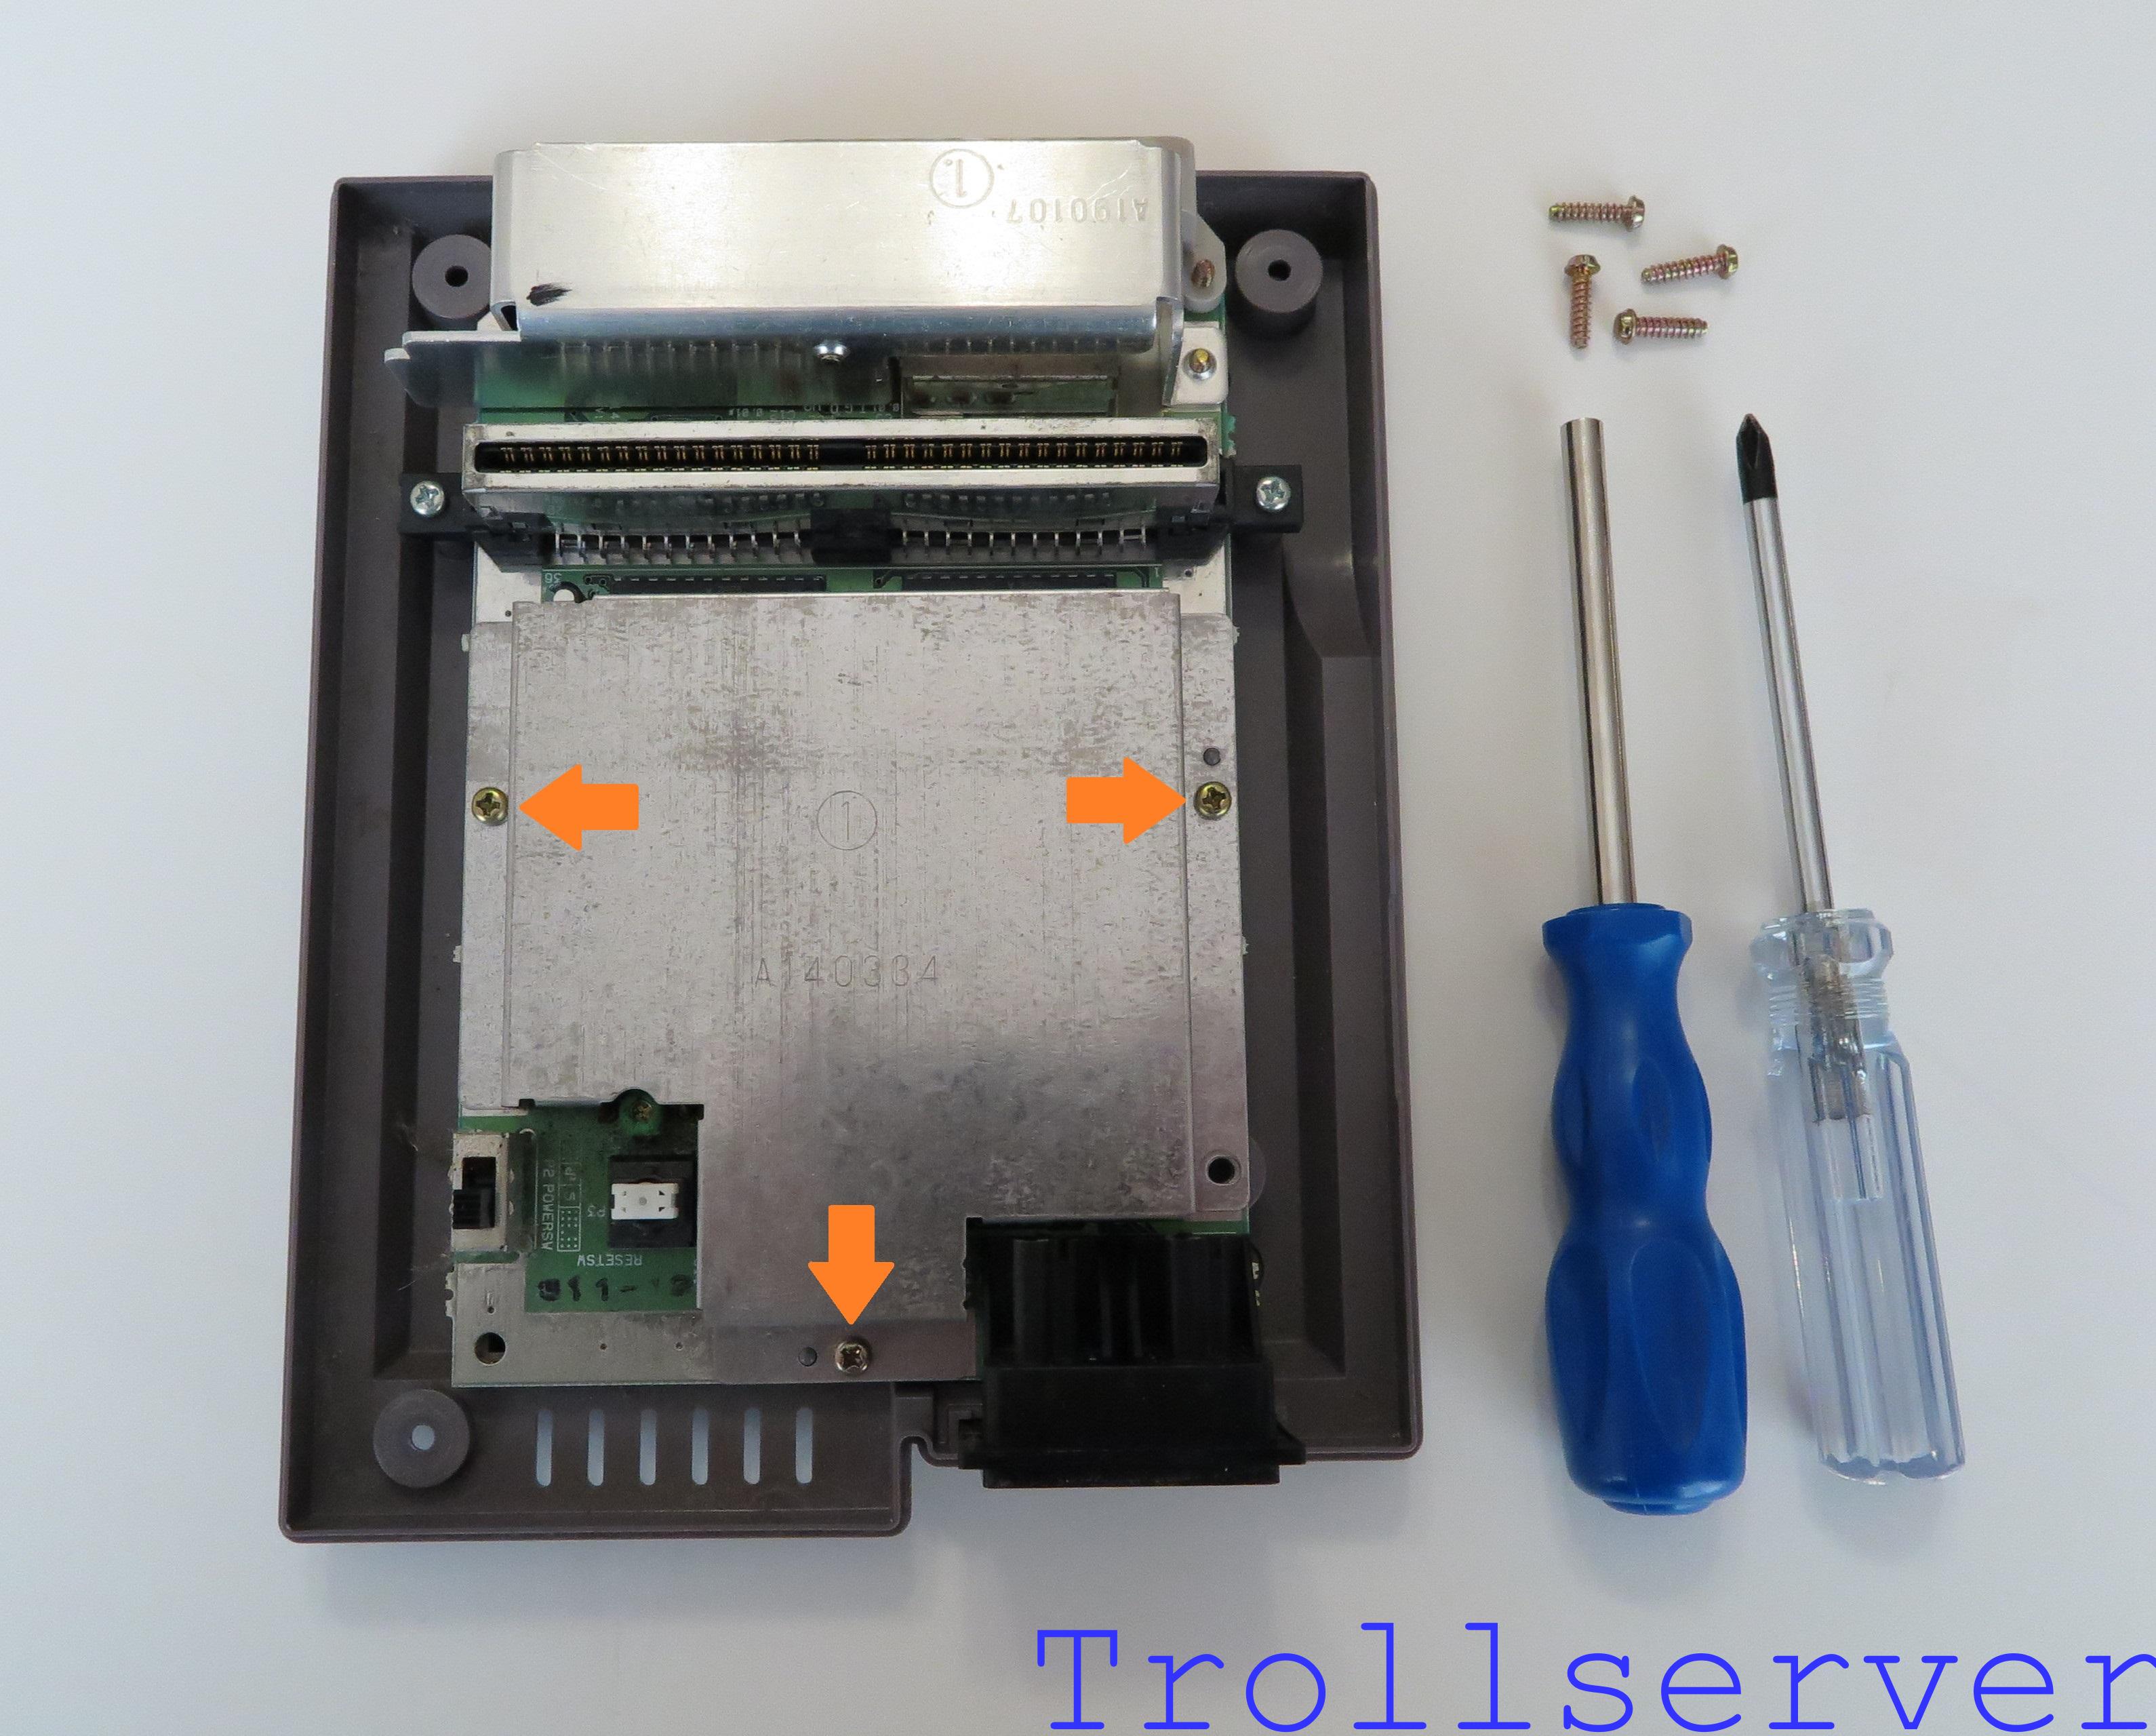
Once you’ve removed the outside screws you need to flip the NES over to right-side up again to remove the top. It should come off easily by pulling straight up. Thankfully the power and reset buttons and the cartridge slot flap are all attached to the top lid so there won’t be anything to tediously line up when it comes time to put it back together. Once you have the lid off you’ll be looking at the motherboard shield. It’s held in place with 3 Phillips head screws. Note that you do not need to remove the screws that hold down the cartridge slot since we won’t be removing the motherboard. I’ve highlighted the shield screws that need to be removed with big orange arrows.
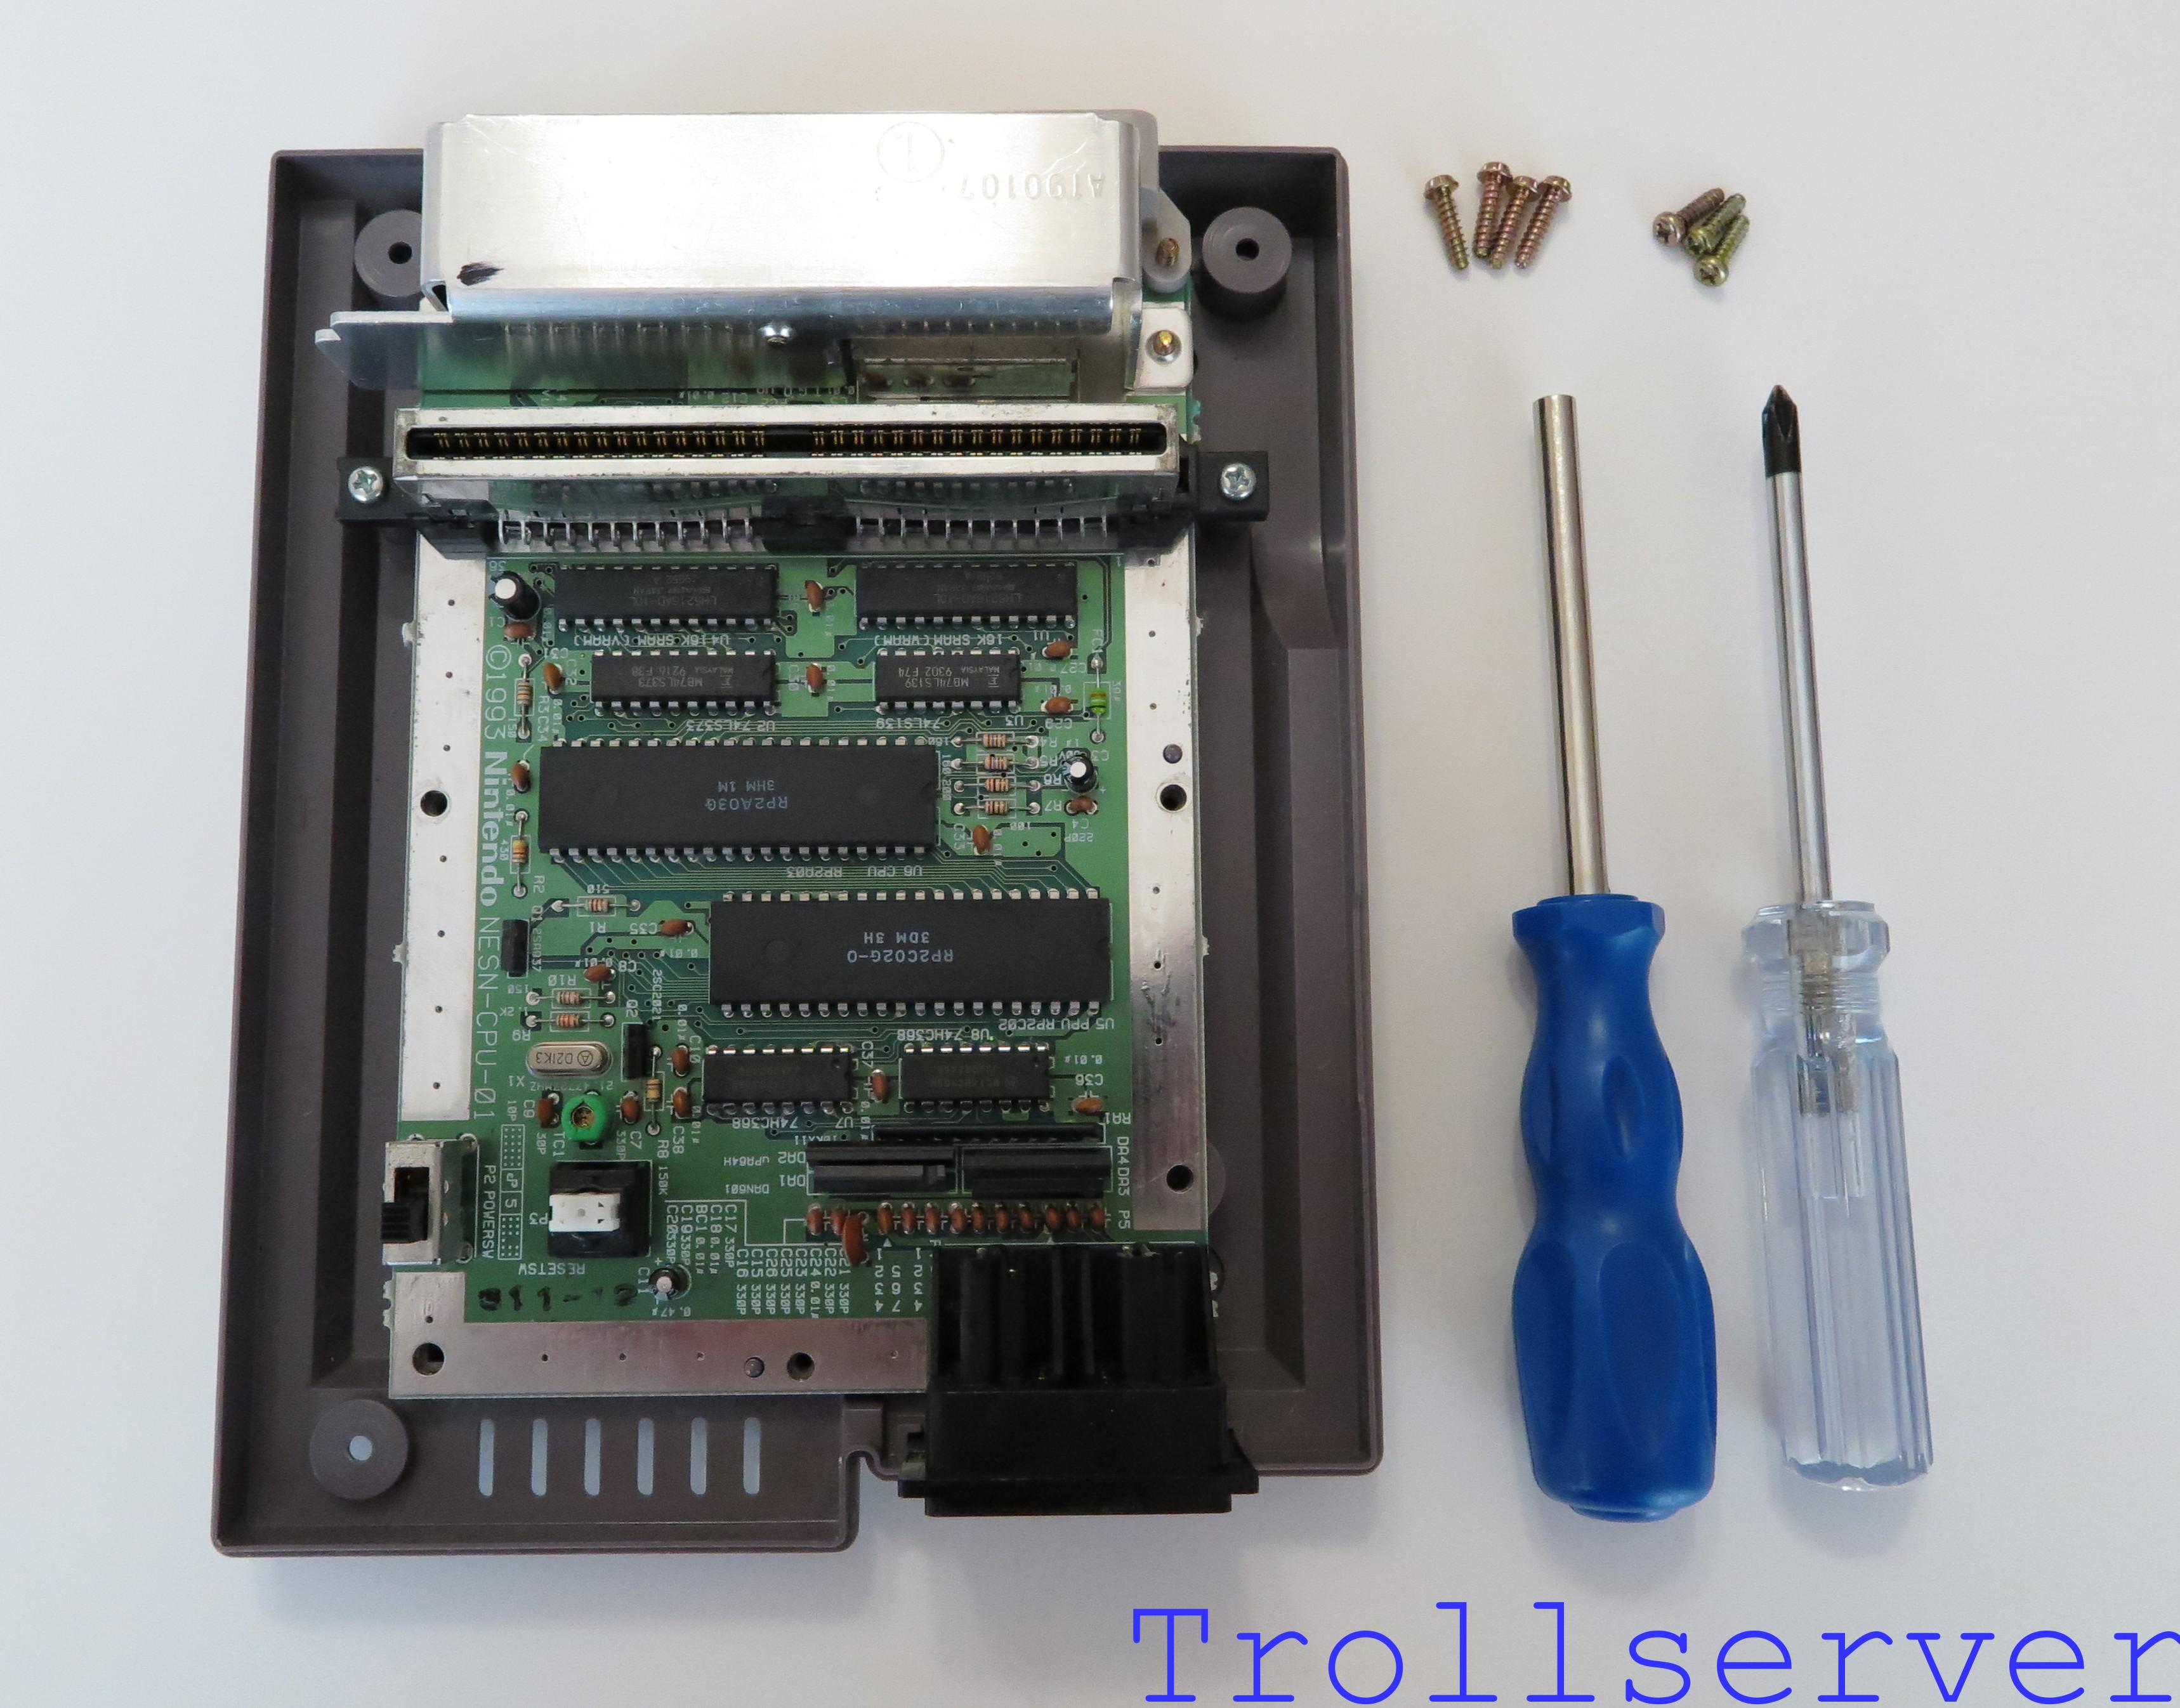
You have now successfully disassembled your NES. Told you it was easy. 🙂
Before we do anything to the motherboard we will be adding the RCA jacks to the top lid. In the mean time put the bottom somewhere safe and keep the screws where you won’t lose them.
To jump between posts in this series, please visit the NES Mod Index.