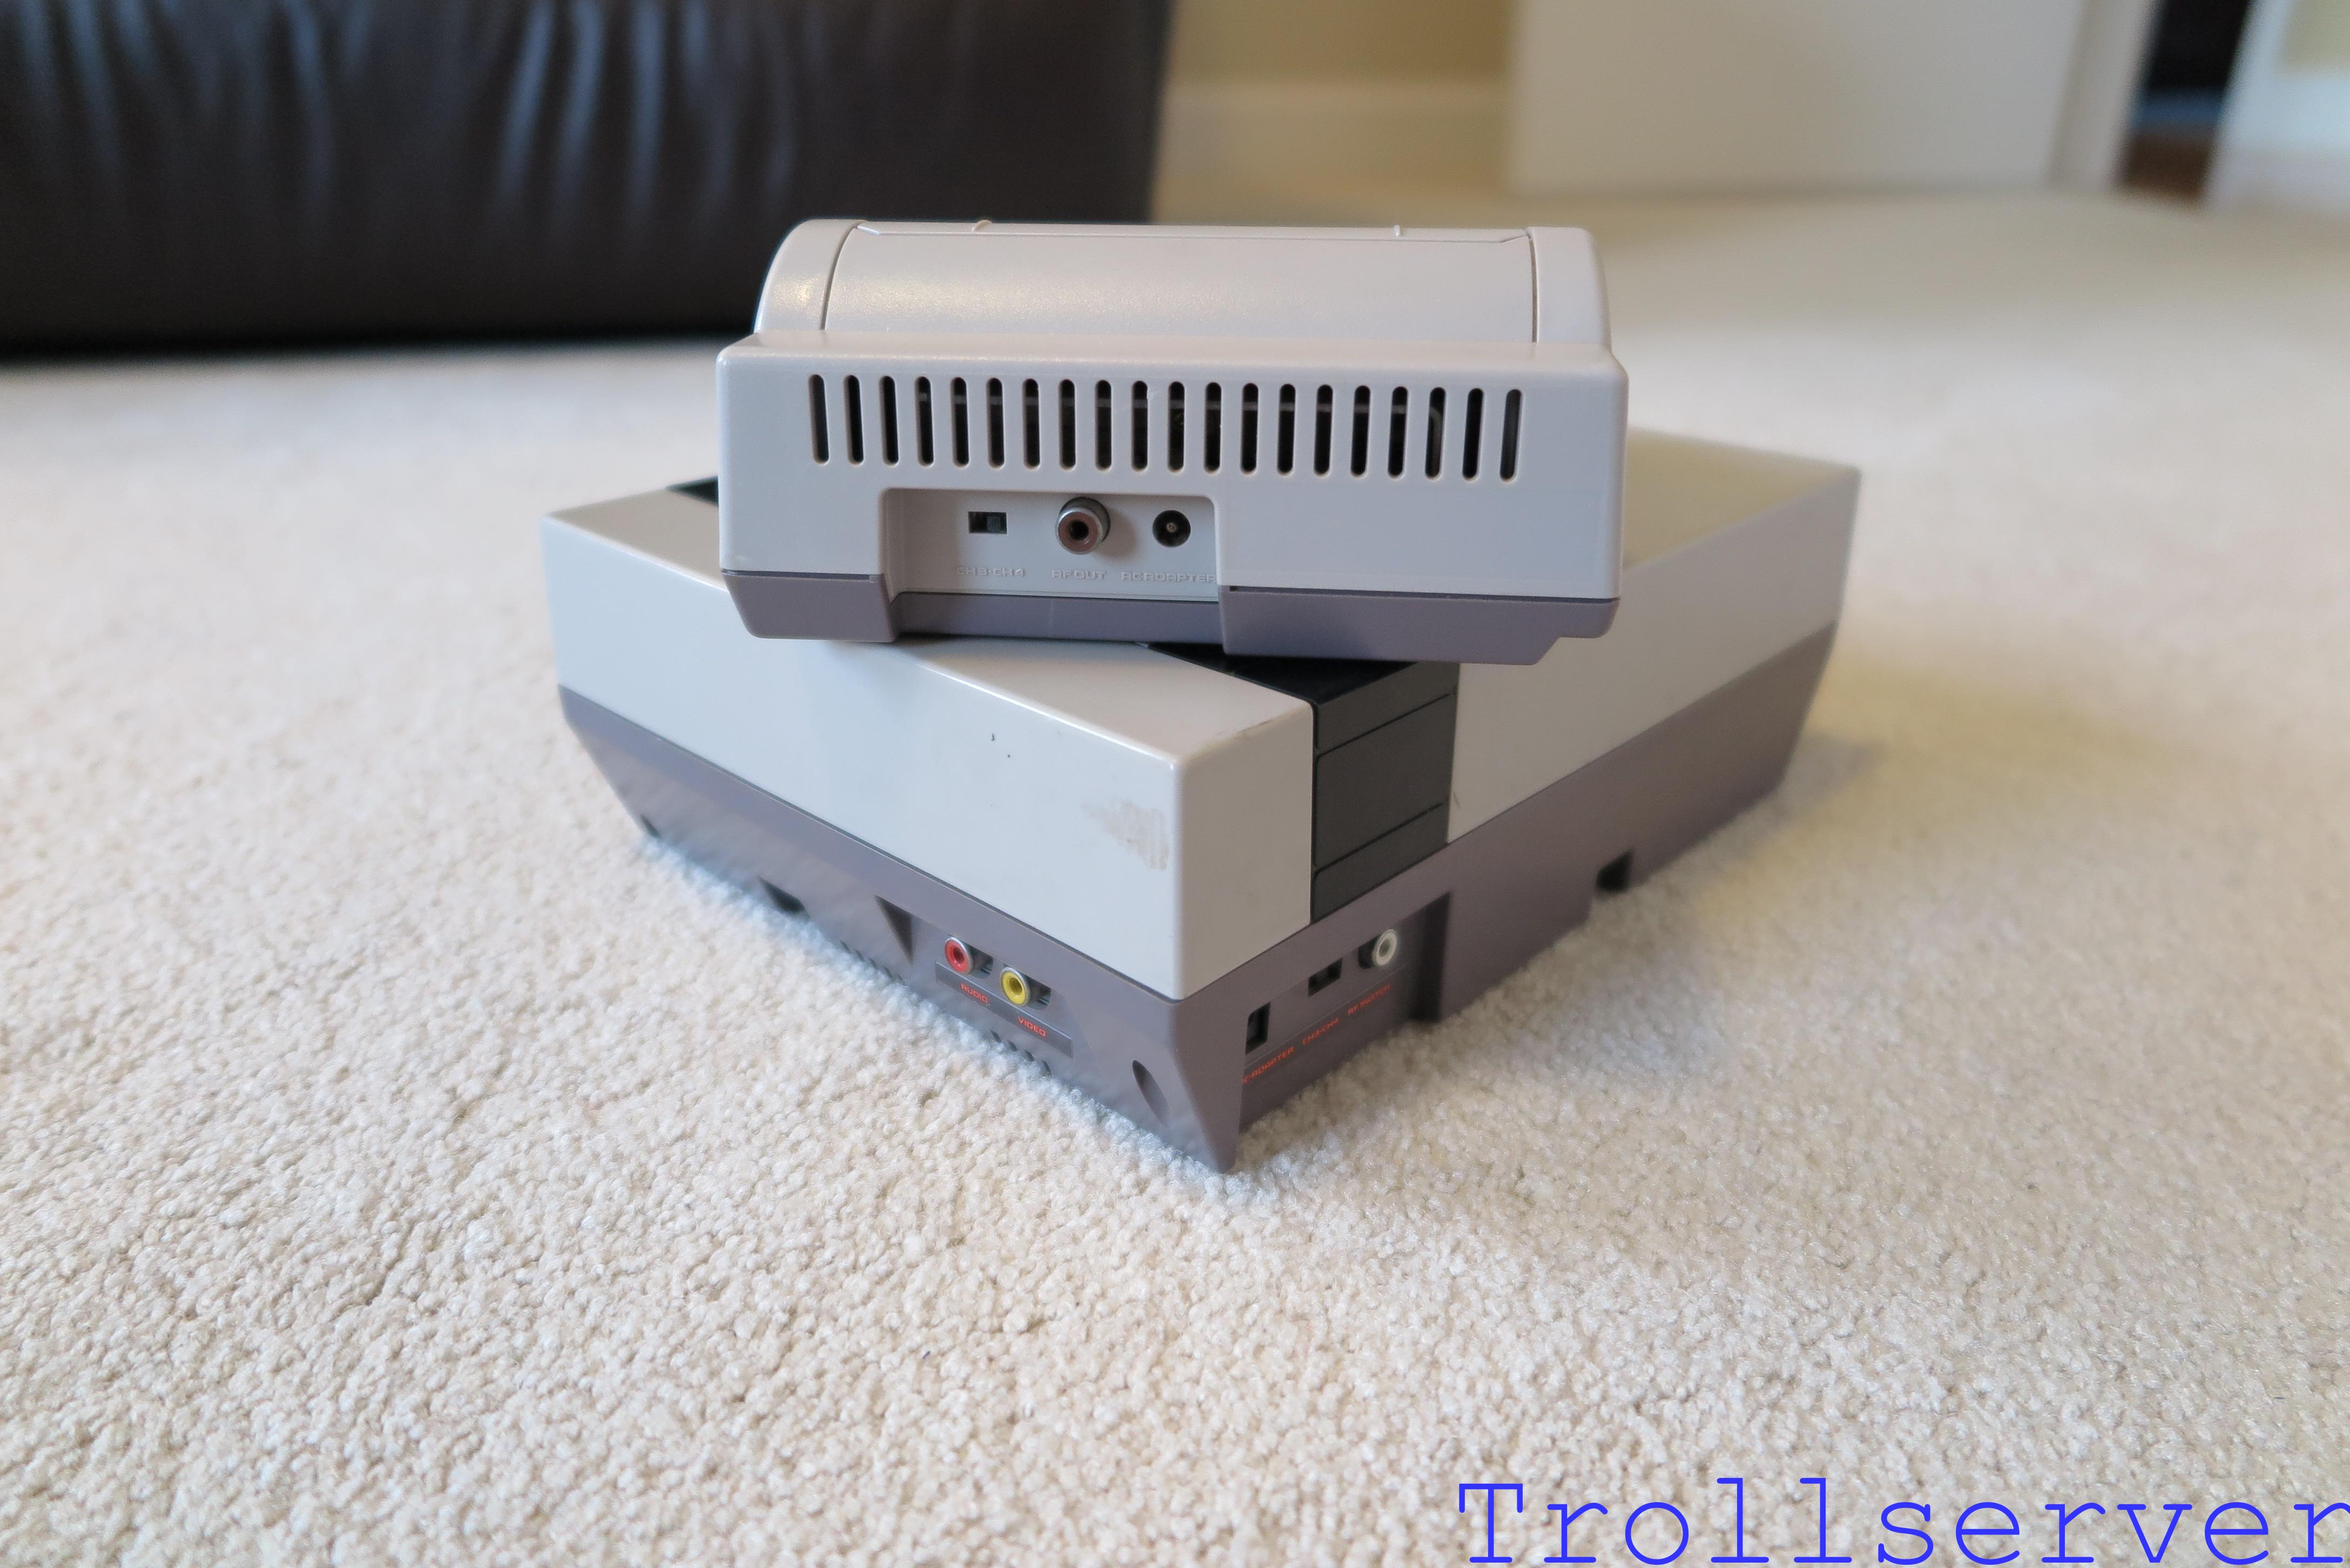
NES Toploader AV Mod – Preparation
To jump between posts in this series, please visit the NES Mod Index.
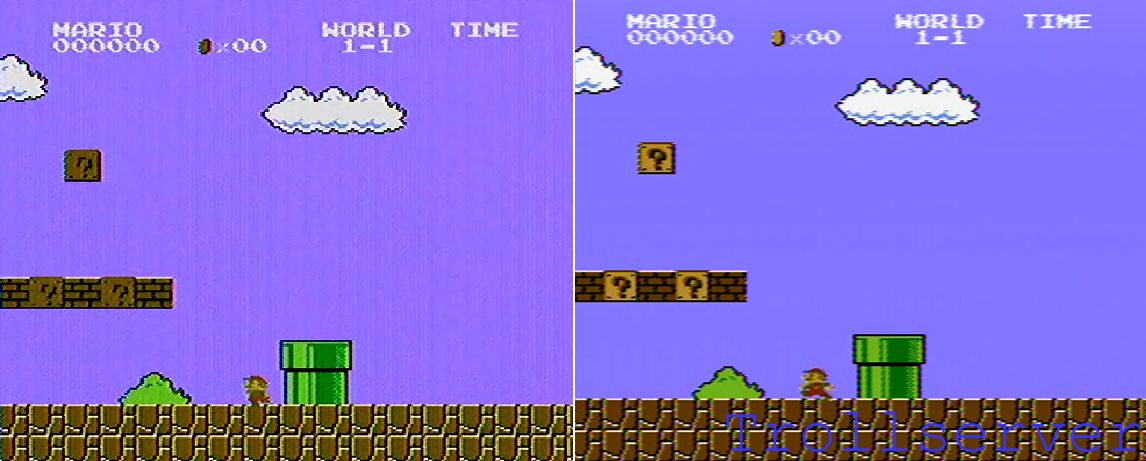
There are lots of ways to add composite output to an NES Toploader, but it seems like every time I wanted a useful guide on how to do it (yes, it’s come up more than once for me) there just really isn’t one that has all the useful information I need all in one place. This led me to creating my own. Welcome to my NES Toploader AV Mod tutorial. The first steps in the process should all happen way before you start any work on the project. Specifically, being a good boy scout and getting prepared first is a great place to start.
In this case, being prepared covers the basics of tools and parts and some of the shopping you will need to do to successfully complete this project. I will not be explaining what I call the super-basics. For example, if you have no idea how to solder things, don’t even start this project because all you’ll do is destroy your NES Toploader.
For simplicity, I will assume the following:
- You are are able to use the all tools involved without hurting yourself.
- You own a functioning NES Toploader.
- You own a soldering iron and know how to use it.
- You have enough solder to do this project.
- You have enough wire to do this job.
- You own wire strippers and know how to use them.
- You have some electrical tape handy.
- You have an X-Acto knife or similar razor blade tool.
- You have a drill, appropriately sized drill bits, and know how to use them.
First, a note on prices. All prices I mention here are solely provided to give you an idea about what this project will cost. If you are discovering this blog several years after I wrote it, you can bet the prices will all be wrong. In other words, take them with a grain of salt.
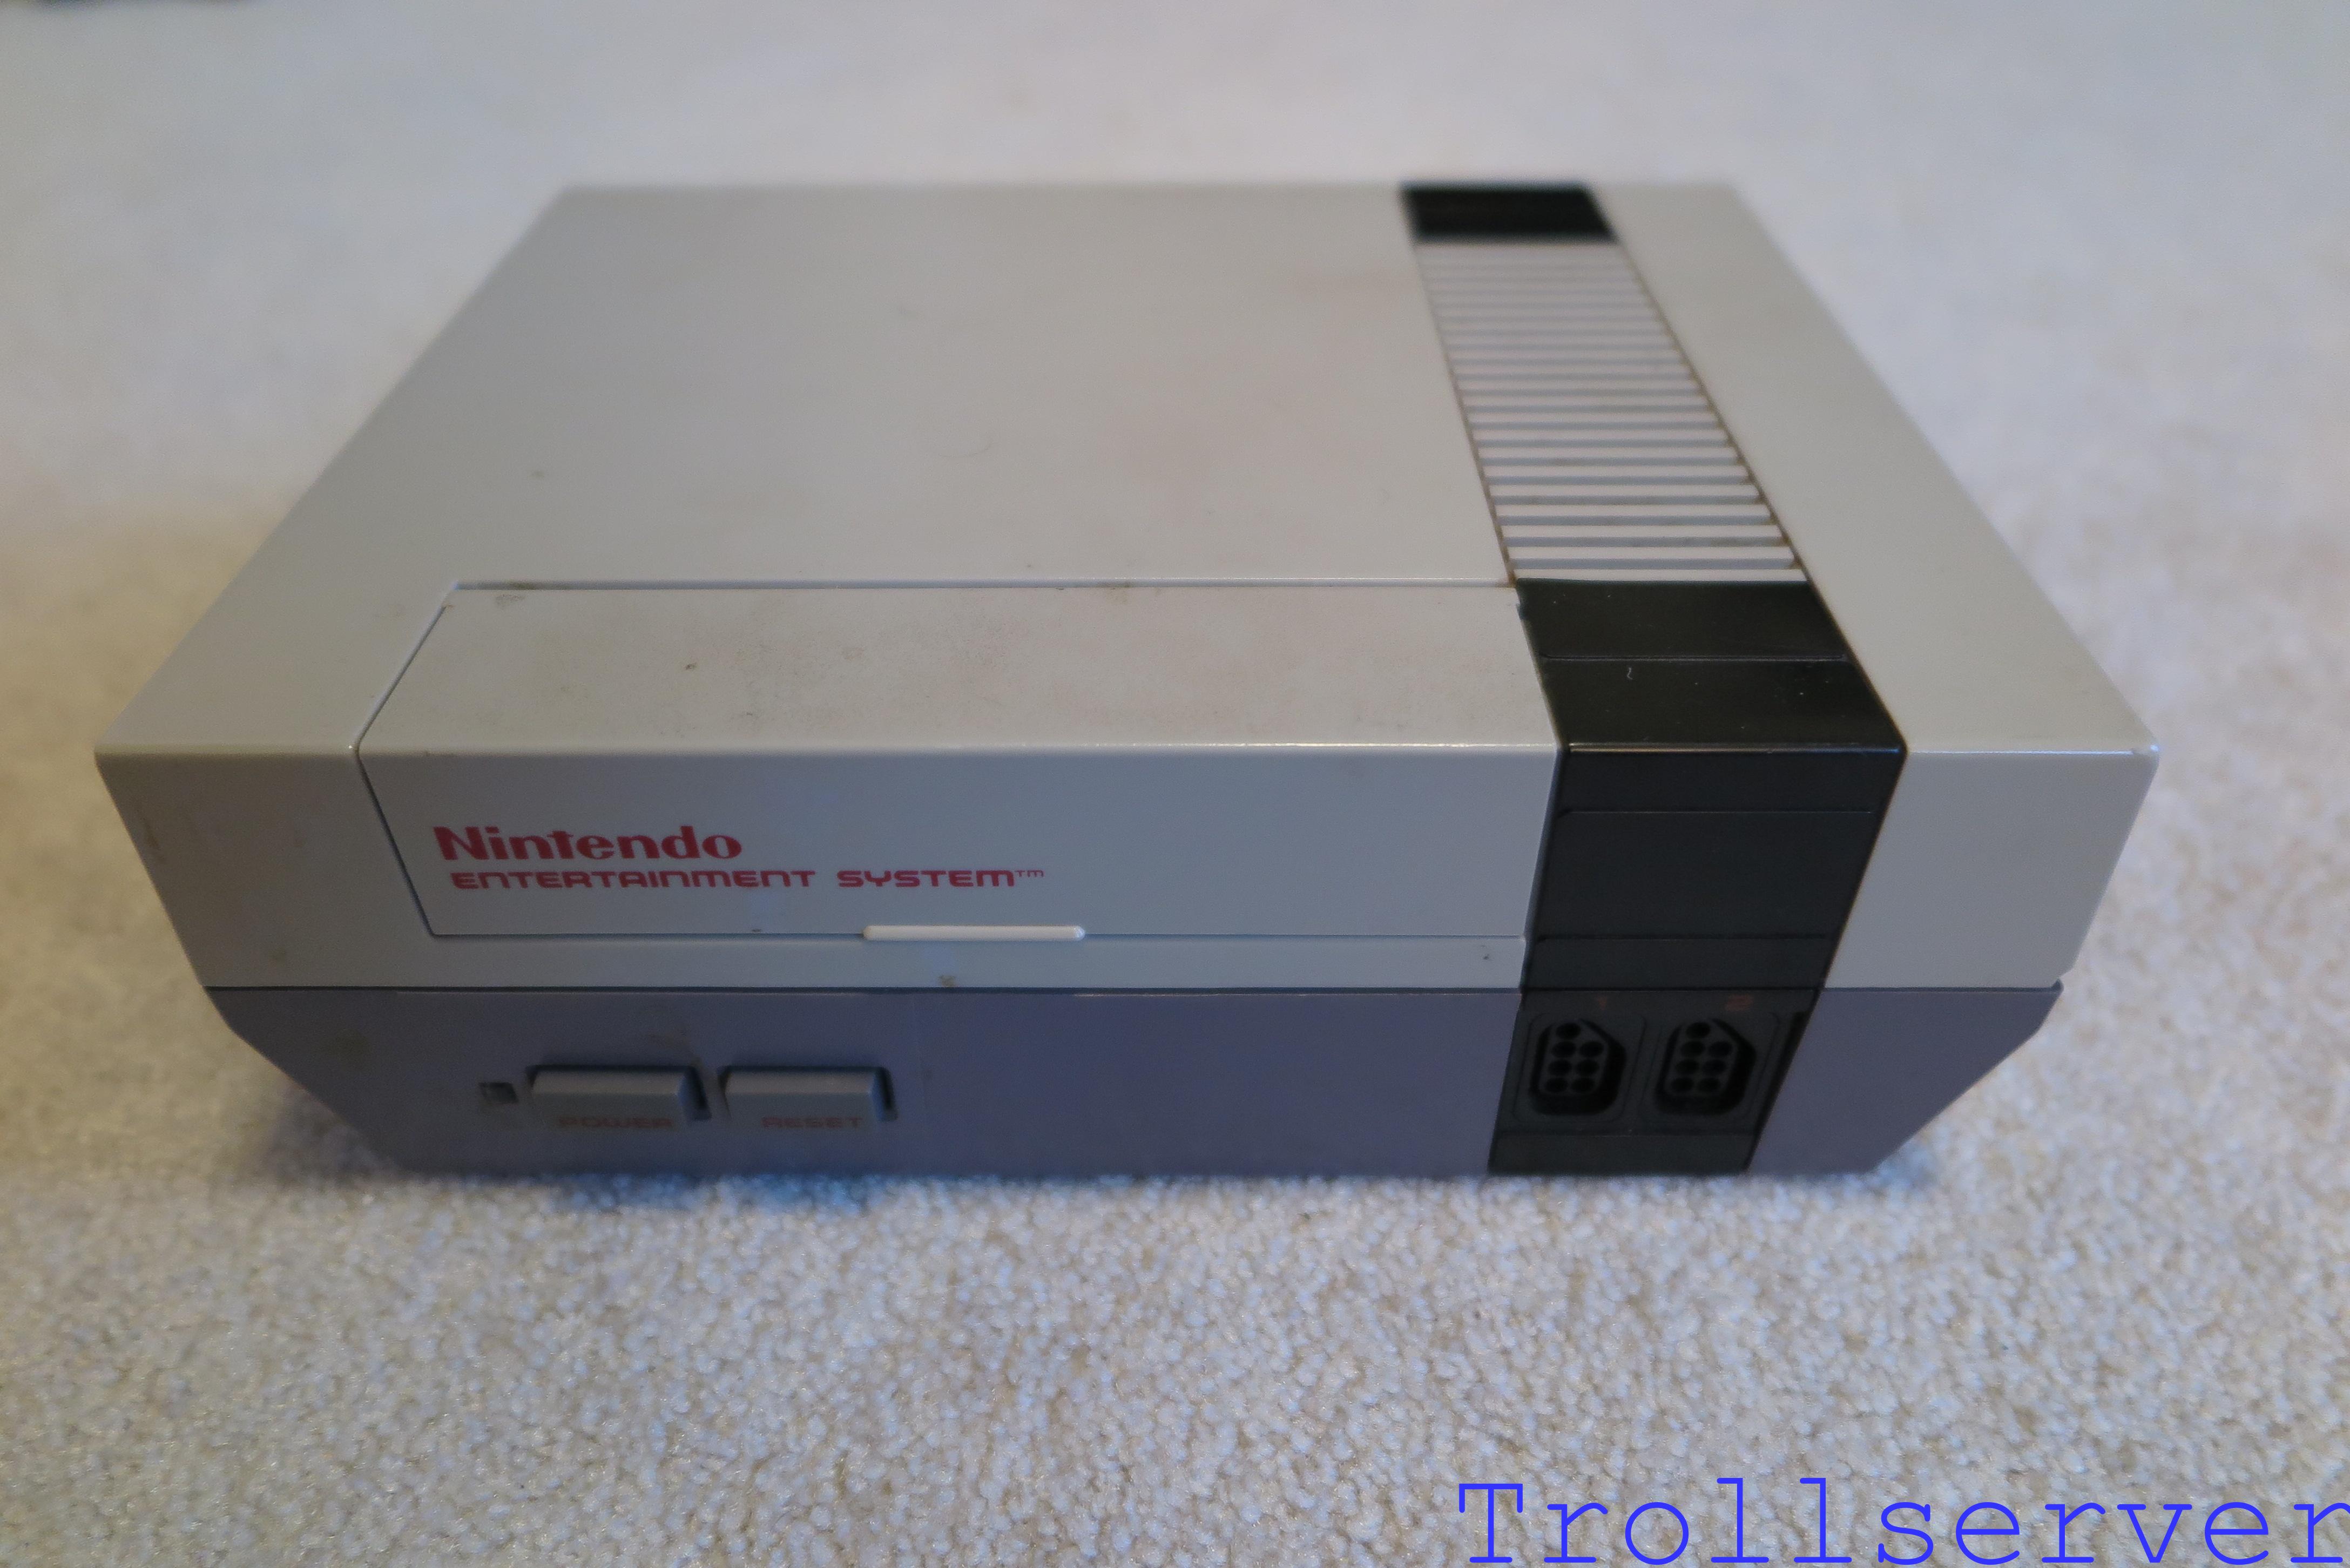
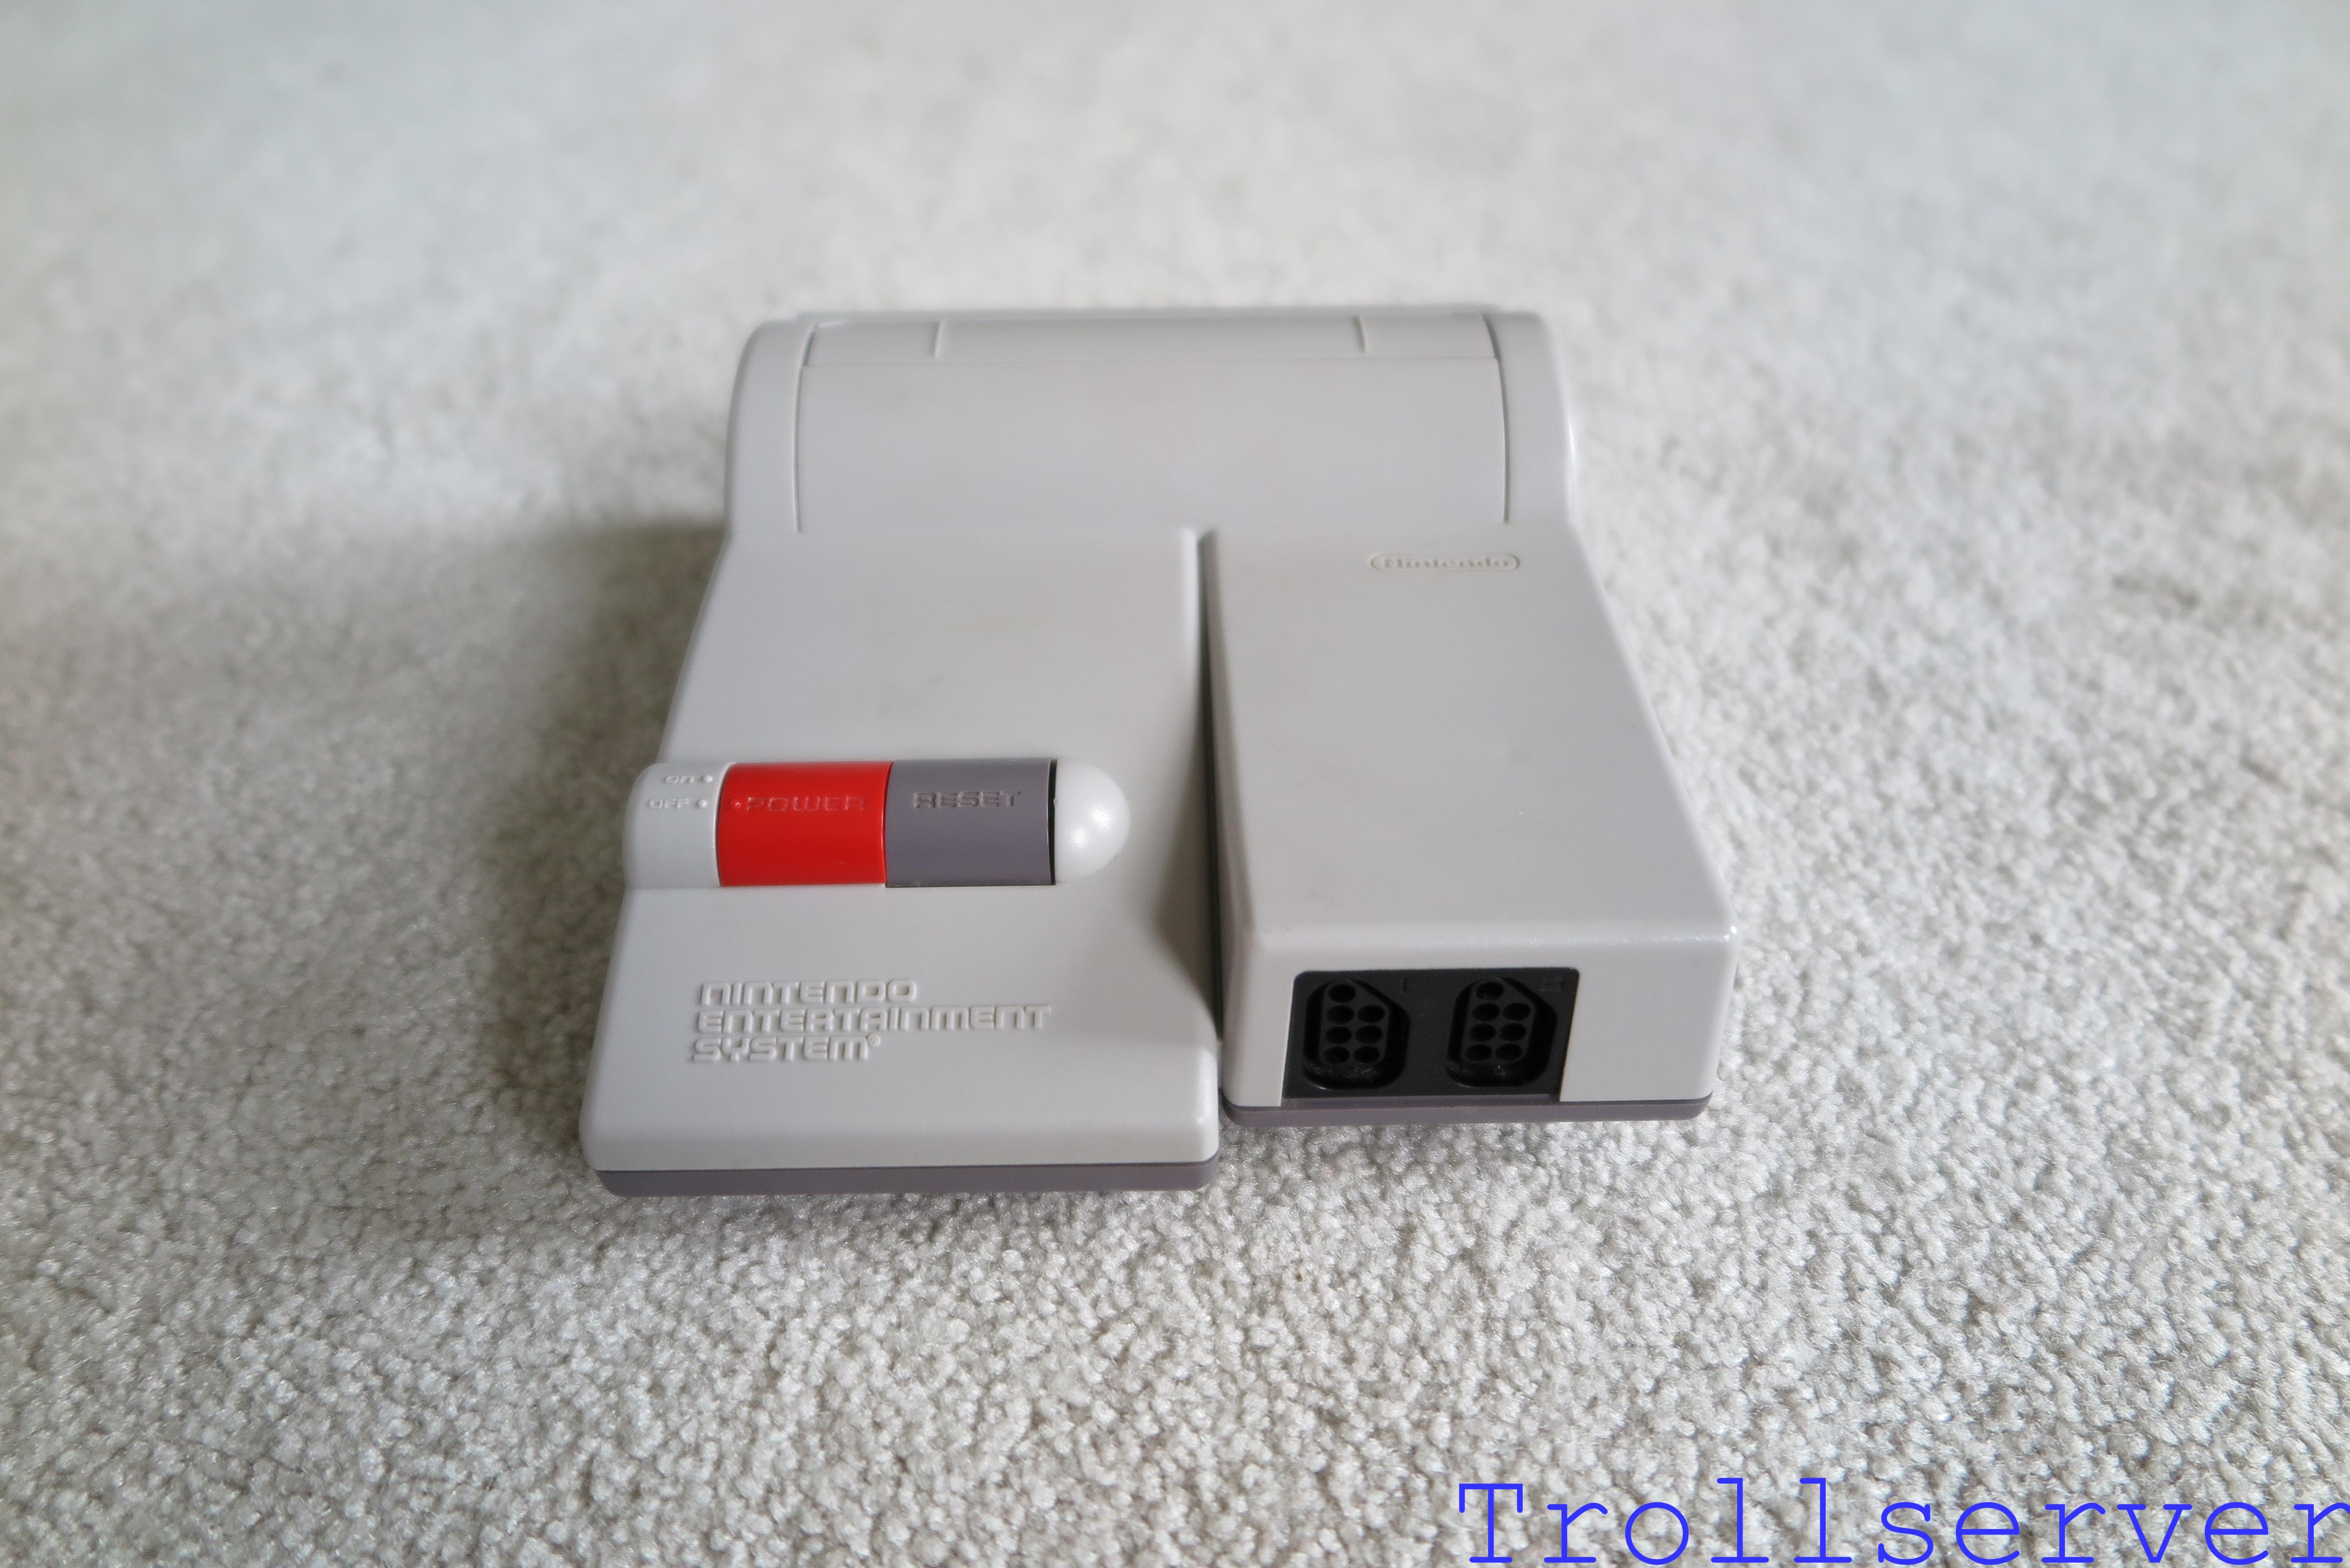
If you do not own an NES Toploader, you should definitely stop here. Get yourself to your local video game shop and see if they have one. Note that I’m not referring to your local big chain video game store here. They won’t have one, I’ll save you the trip. I’m referring to that guy that has a small store in the back row of some strip mall that isn’t even visible from the road and probably also sells comic books. Try not to get your hopes up too high though. NES Toploaders are quite rare and the odds are that your local guy won’t have one either.
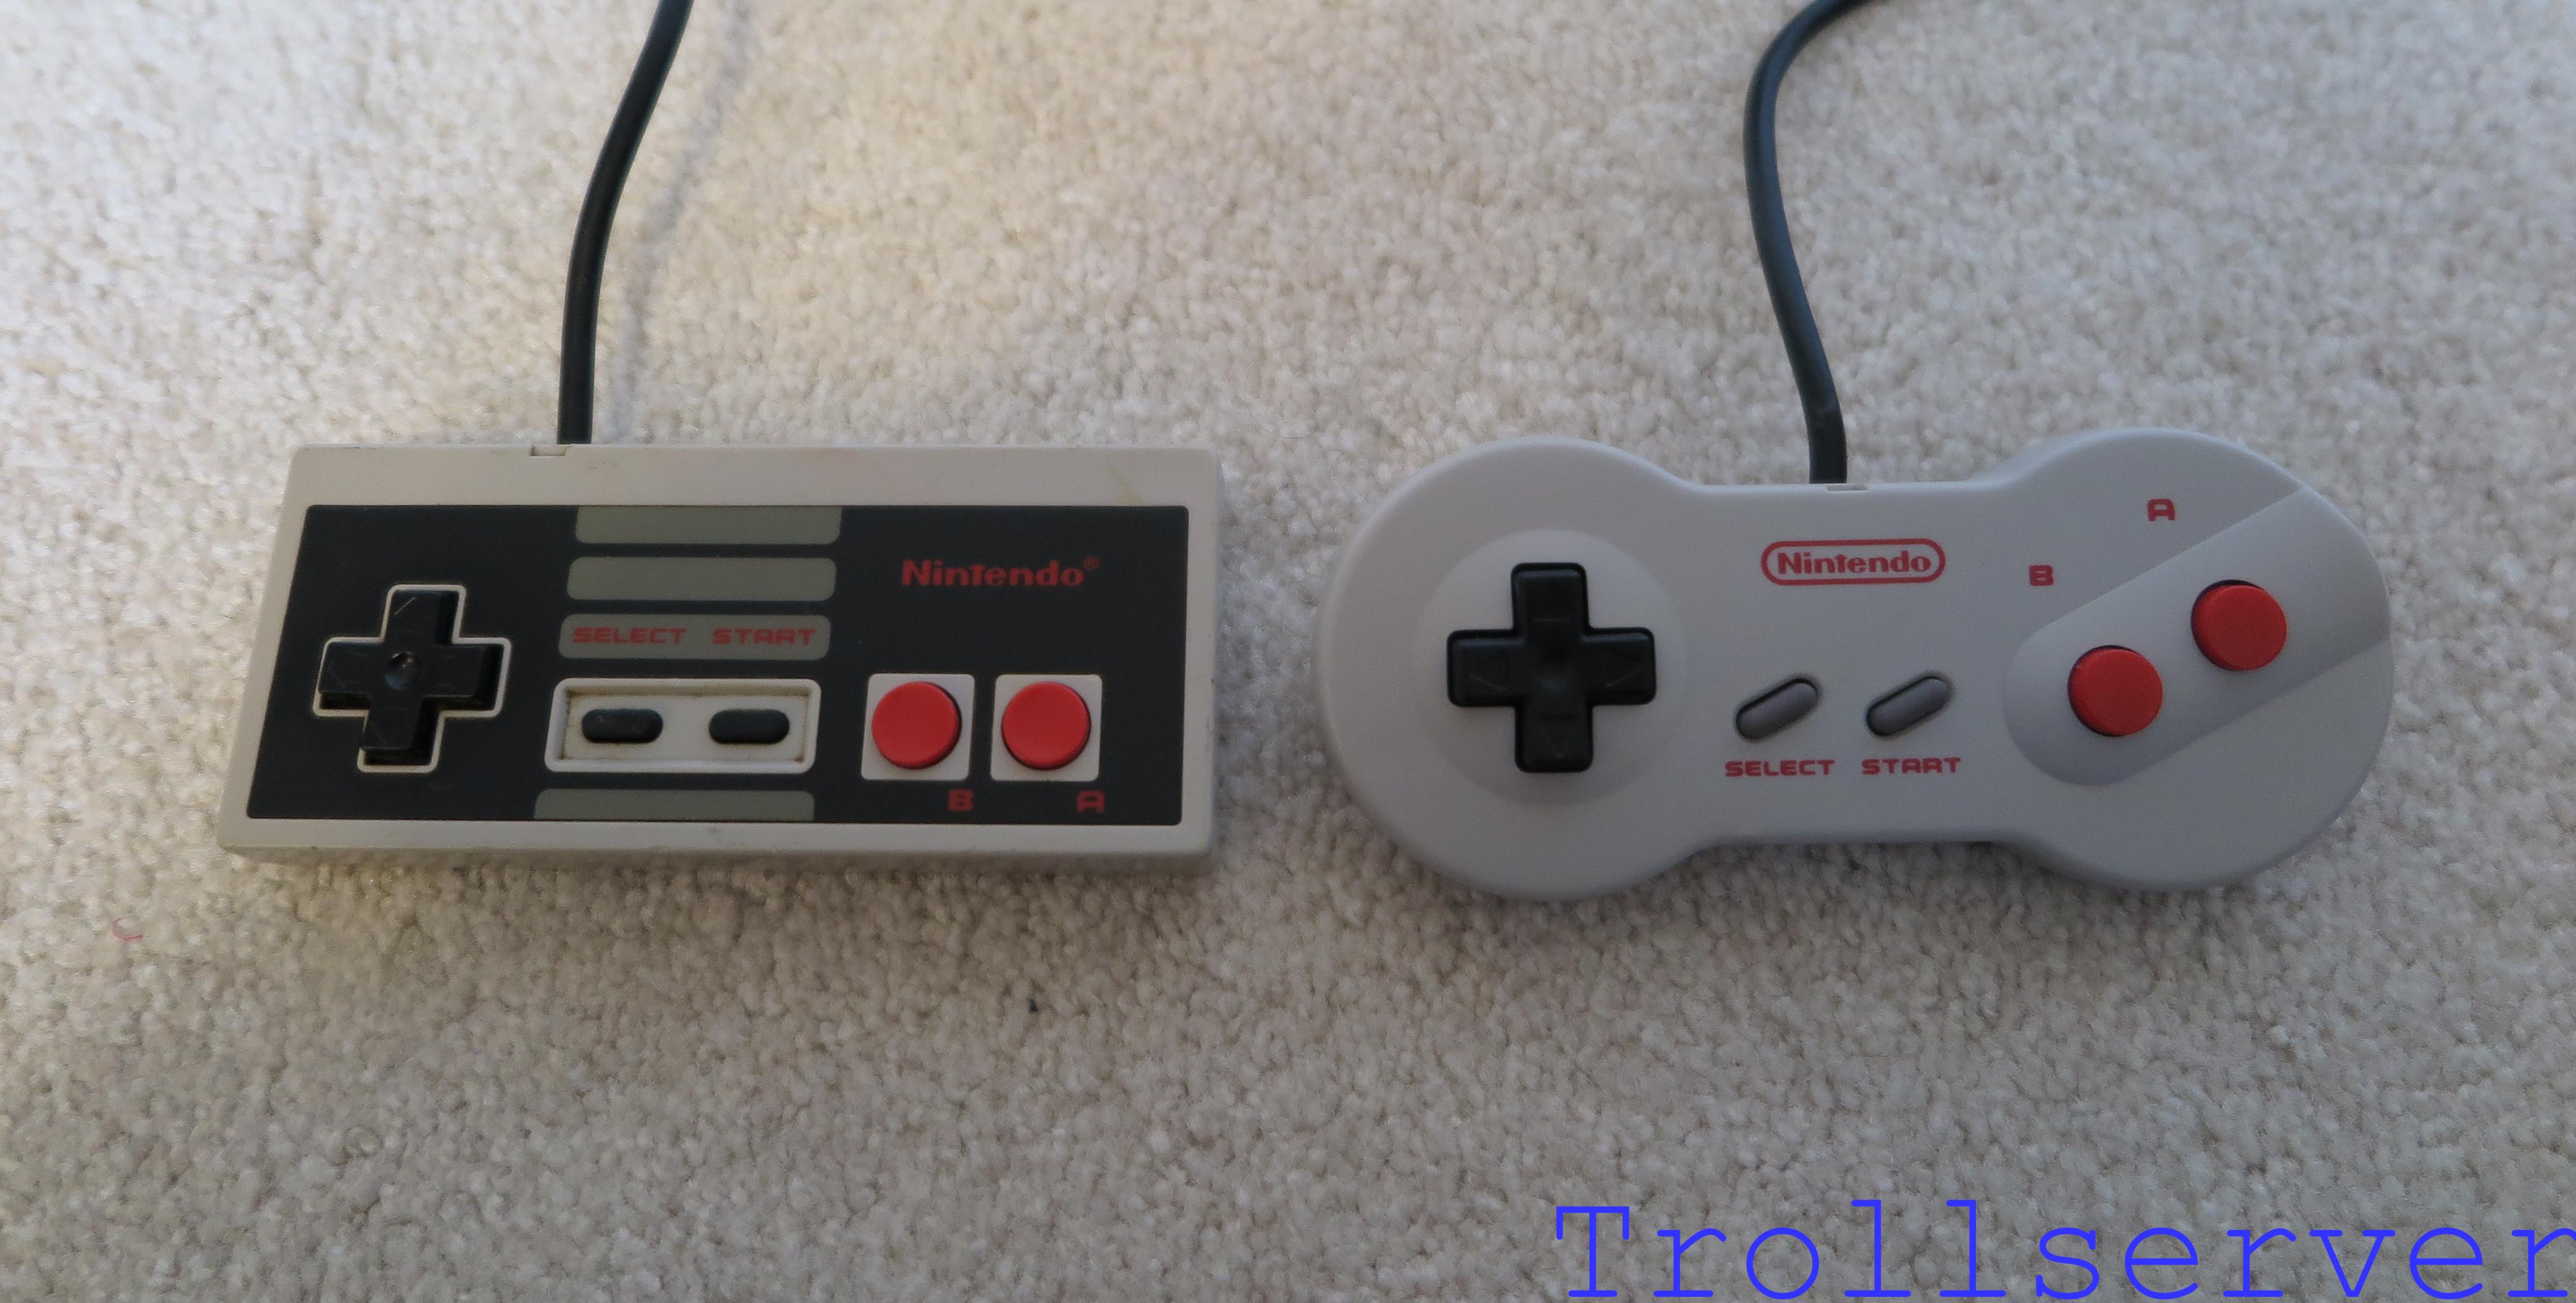
Your best bet if your local guy doesn’t have one is ebay. Just search for “NES Toploader” and you should find a decent number of them available. Remember to read carefully and that in most cases you actually do get what you pay for. If it’s on sale for $40 there’s a good chance it doesn’t work and since this isn’t a tutorial about how to fix it, I recommend you find a different one. I recently purchased one to produce this tutorial with from ebay for about $150 with a few games and a couple dogbone controllers, so you should expect to spend something near that price point.
The next thing you will need is a fancy screw driver that will grant you access to the guts of your NES Toploader. It’s not expensive, but without it you will find yourself denied access pretty handily because all the normal screwdrivers you have sitting around your basement just won’t do the job. In fact, most security bit sets are missing the shape you need for this. I’ve created my own tool for this job in the past, but I’m not even going to tell you what I did because buying the proper tool is so superior it’s just not worth it.
I purchased this screwdriver set from Console5 and love it. The bigger 4.5mm one is for getting into the NES itself and the smaller 3.8mm one is for getting into the games. At the time I am writing this, the pair of tools is only $4.95 and I had a perfectly lovely experience purchasing from Console5 so I recommend going with them.
Next you will need to purchase a small pile of electronics bits. For almost all of my electronics bits purchases over the years I have used Tayda Electronics. They have a massive selection of interesting parts, obscenely low prices, and ship relatively quickly if you are in the USA. I highly recommend buying electronics parts from them and I have purchased from them at least a dozen times. For the RCA Jacks that you need for this project, I no longer recommend Tayda Electronics because the ones they sell are obscenely cheap. They will work, but they are a pain to deal with because they are so cheaply made. My new recommendation for high quality RCA Jacks is that you go through Minute Man Electronics. I purchased my replacement RCA Jacks from them and greatly prefer the quality ones.
On the note of wire, electrical tape, and razors… Strictly speaking, the razor is not required, but I feel it makes a better final circuit board to trim off the extra unused portion. Electrical tape isn’t technically required either, but I like it better than other choices like packing tape or masking tape because it’s stickier and much harder to accidentally poke small holes through with sharp electronics bits. If you do not use electric tape, be absolutely certain that you have some sort of non-conductive tape handy to prevent shorting out the circuit board on the grounded shielding inside the NES. For wiring, I highly recommend the 4-conductor intercom wire from Radio Shack. The wire is solid instead of stranded so you won’t make random electrical connections by accident, 24 gauge so it’s thick enough to be sturdy and thin enough to be flexible, and conveniently both of the connections you will need to make for this project require exactly 4 wires. If by the time you are attempting this project there is no such thing as Radio Shack and you can’t find anyone else that makes 4-conductor wire, it’s not required that the wires be stuck together. Just use 4 separate 24 gauge solid wires in different colors.
The way I do this project is a little bit of “overkill” but I like the results and I like how everything is good and clean and modular when I’m done. I buy a little circuit board, nice little connectors, and triple the parts I actually need. Yes, triple. The reason is simply that mistakes happen. I’m actually pretty good at this sort of thing and I still occasionally mess something up and it’s good to have spares. With the prices of all the parts in question, you actually have to buy at least 3 of everything to even hit the $5.00 minimum purchase amount anyway, so it’s hardly a waste.
The list of parts you will need to build the circuit:
- 1x – Small StripBoard 94x53mm (Copper) ($0.66)
- 1x – 2N5401 PNP Transistor ($0.05)
- 2x – 1 μF 50V Electrolytic Capacitor ($0.02/ea)
- 1x – 220 μF 16V Electrolytic Capacitor ($0.03)
- 1x – 110 Ω 1/4 W Carbon Film Resistor ($0.01)
- 1x – 300 Ω 1/4 W Carbon Film Resistor ($0.01)
- 2x – Wafer Connector 2.54mm 4 Pins Right Angle ($0.04/ea)
- 2x – Housing Connector 2.54mm 4 Pins ($0.04/ea)
- 8x – Crimp Terminal Connector 2.54mm ($0.03/ea)
- 1x – RCA Chassis Mounting Red ($0.17 at Tayda, $0.94 at Minute Man)
- 1x – RCA Chassis Mounting White ($0.17 at Tayda, $0.94 at Minute Man)
- 1x – RCA Chassis Mounting Yellow ($0.17 at Tayda, $0.94 at Minute Man)
- 1x – 0.01 μF 50V Ceramic Disc Capacitor ($0.01)
Now add 3 times the number shown above of each thing to your cart and you should just clear the $5.00 mark. Keep in mind that you buy the resistors in sets of 10 so there is no need to triple those. Of course if you are confident in your ability to build the circuit without error and find other interesting things on the site, you can definitely fill in the $5.00 minimum order with fancy things that are unrelated to this project. Also, the very last item on the list (the 0.01 μF 50V Ceramic Disc Capacitor) is on the list because it’s possible to damage the ones on the NES motherboard by accident because they are close to other areas you’ll be working in. I’ve accidentally destroyed one, and I didn’t have one to replace it with at the time. The result was a flaky NES and my friend coming back so I could fix my error once the part came in.
At this point you should be all set to go (or at least waiting for a few deliveries that will leave you all set to go once they arrive). Next we will describe the circuit you are building.
To jump between posts in this series, please visit the NES Mod Index.