NES Toploader AV Mod – Background
To jump between posts in this series, please visit the NES Mod Index.
This is a multi-part blog post taking you through the adventure of adding composite audio and video (AV) output to your NES Toploader. The first part is the background on NES Toploaders and a bit of information about why you would want to modify yours in the first place. Starting from the beginning I realize it’s possible you don’t even know what an NES Toploader is. If you are a child of the 80s there is a good chance you’ve seen, played, and owned a Nintendo Entertainment System (NES). There is also a very good chance it looked like this:
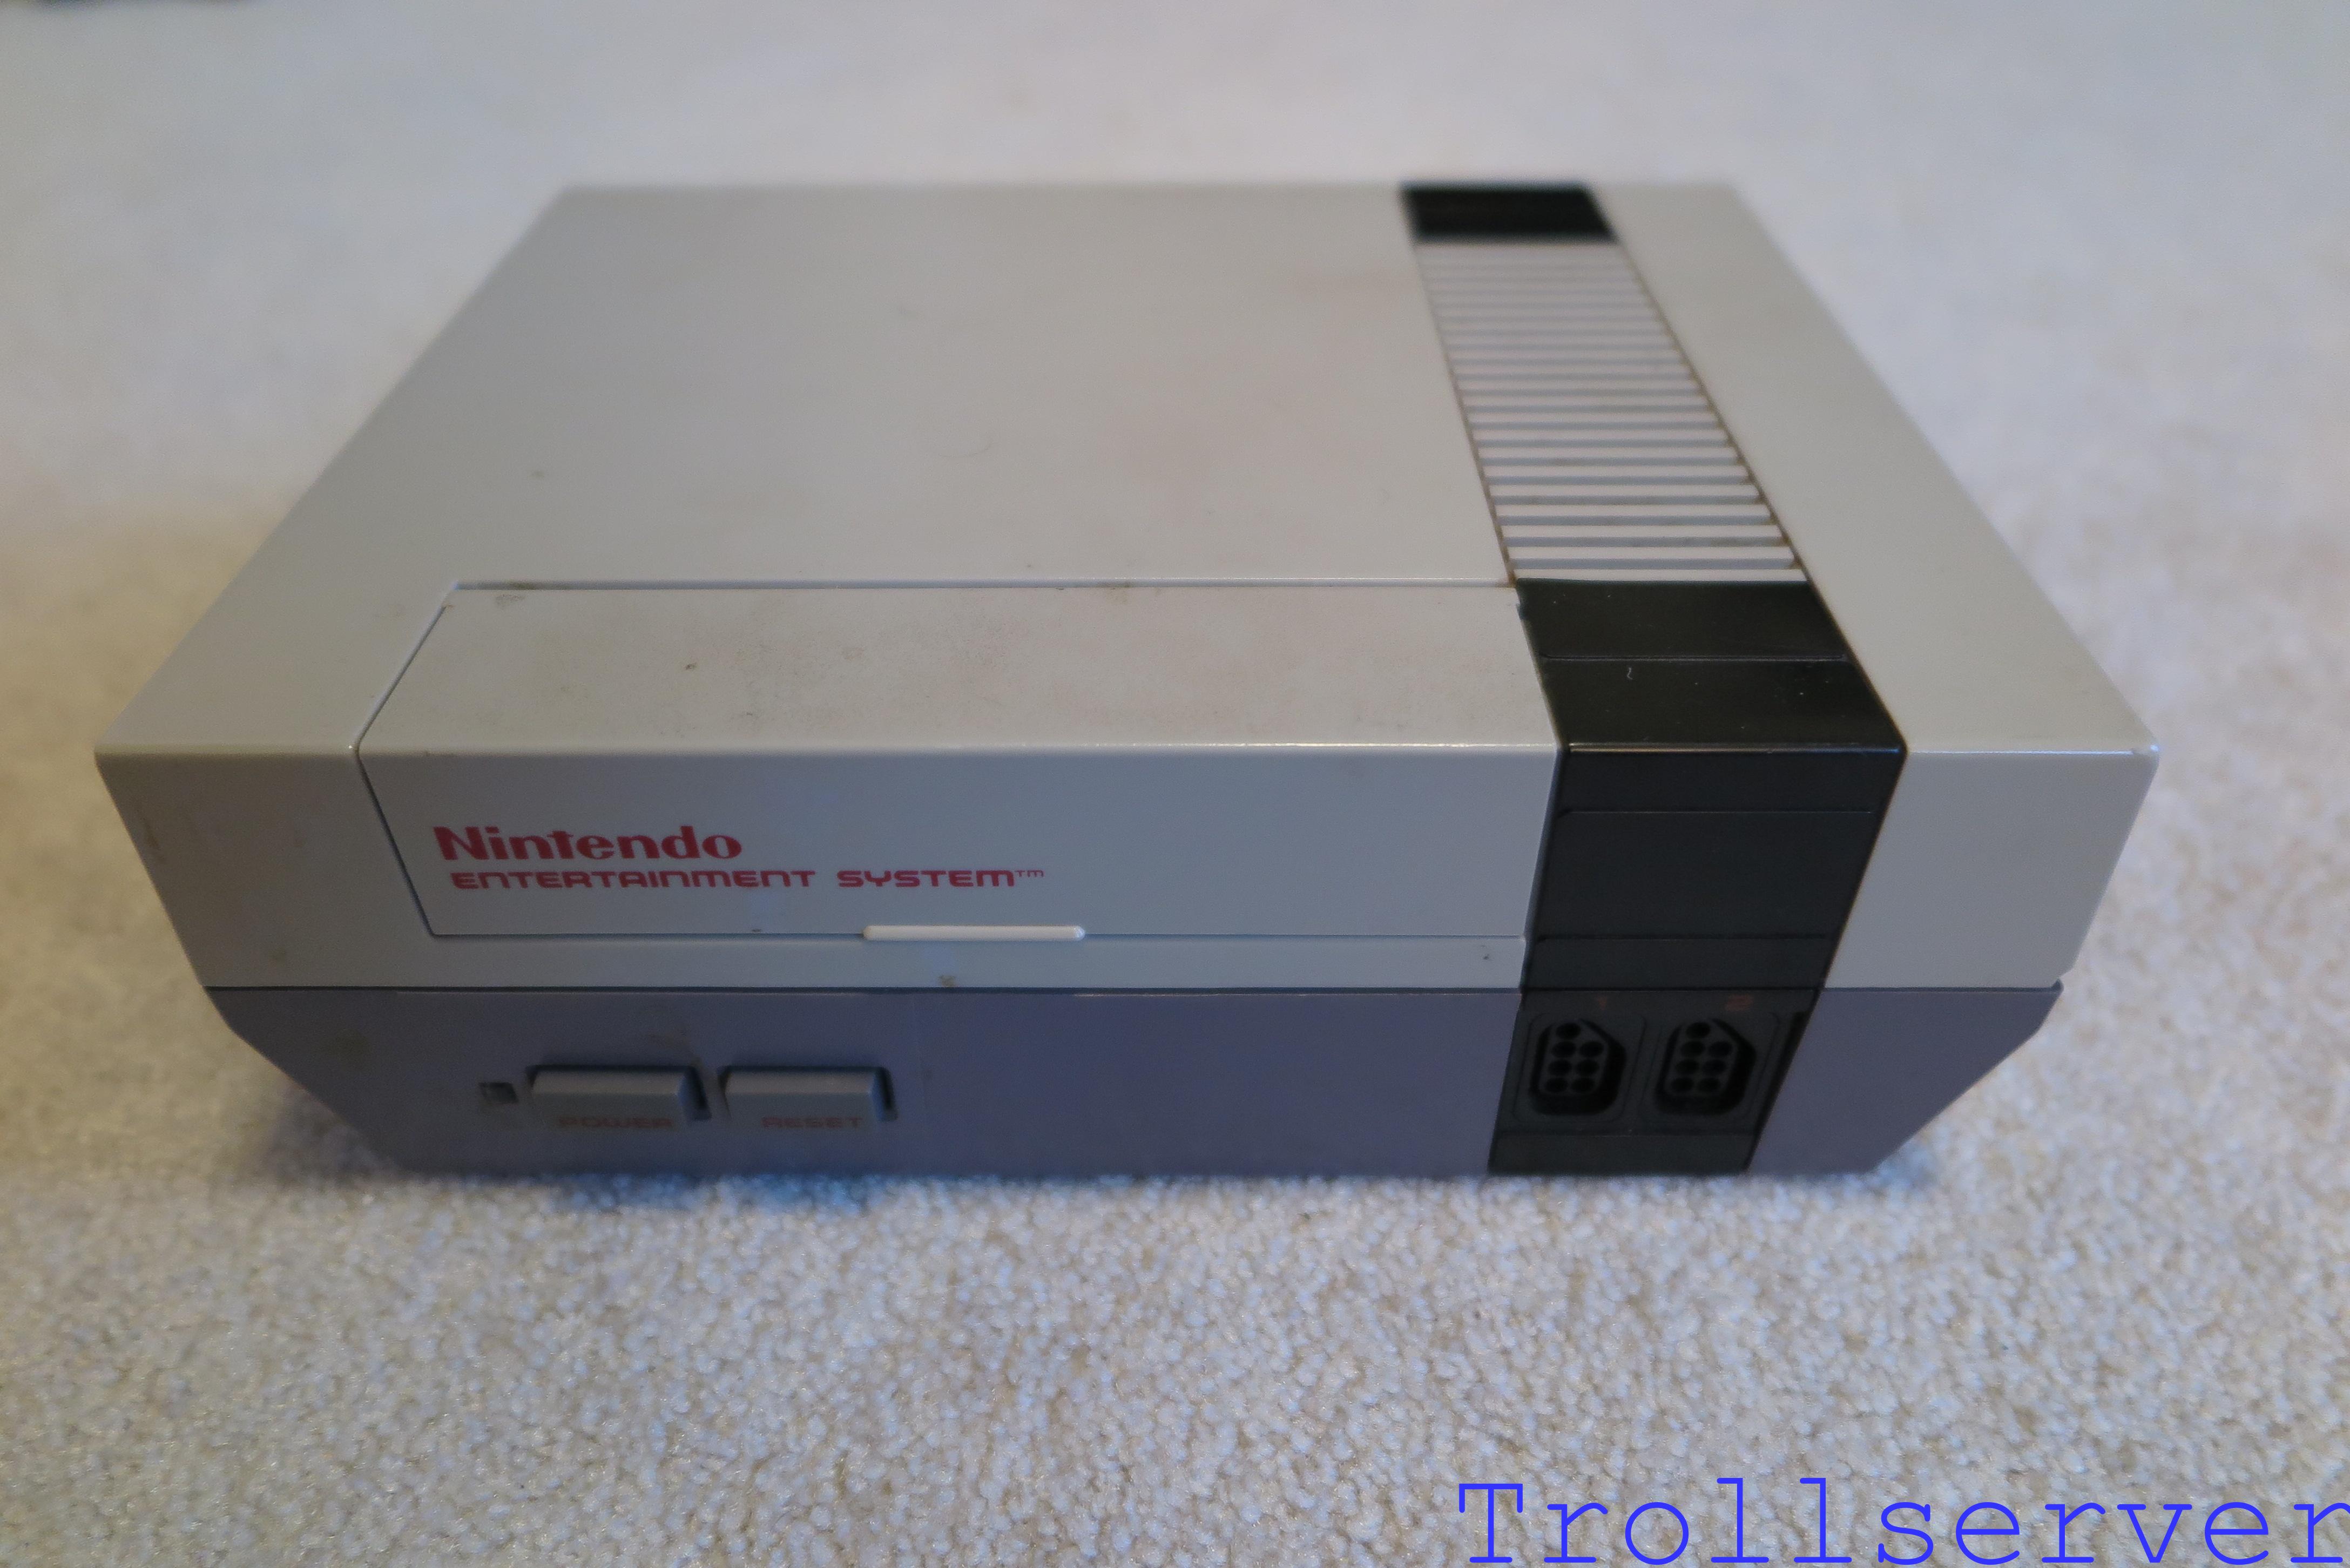
This is often referred to as the NES “toaster”. I imagine that name came from the fact that you insert game cartridges that look rather like gray pieces of toast into the front of a device that slightly resembles a toaster oven. While it was without question the best video game system of its time, the hardware didn’t hold up amazingly well as it aged. Specifically there was a security chip in the system that relied on a good clean connection to another security chip in the cartridge. When these two chips couldn’t talk to each other especially well (dirty connectors on the cartridge, old 72-pin connector in the NES, cosmic radiation, whatever) the result was a blinking screen that prevented you from playing your game.
This in turn translated into the famous patterns of blowing on your game cartridges or wiggling them around in the NES until they worked. Everyone had a different approach to this and every NES seemed to like a different pattern. Some people blew on the games through their shirts, others wiggled the game and nestled it all the way to the left before pushing it down, some required different amounts of time pressing the reset button, others spent money on cleaning devices and weird chemical concoctions. Whatever your approach was for getting your games to work, the underlying problem was actually the same. The security chips couldn’t talk to each other properly.
The eventual solution for this problem was for Nintendo to produce an all new type of NES. The fancy new model looks like this:
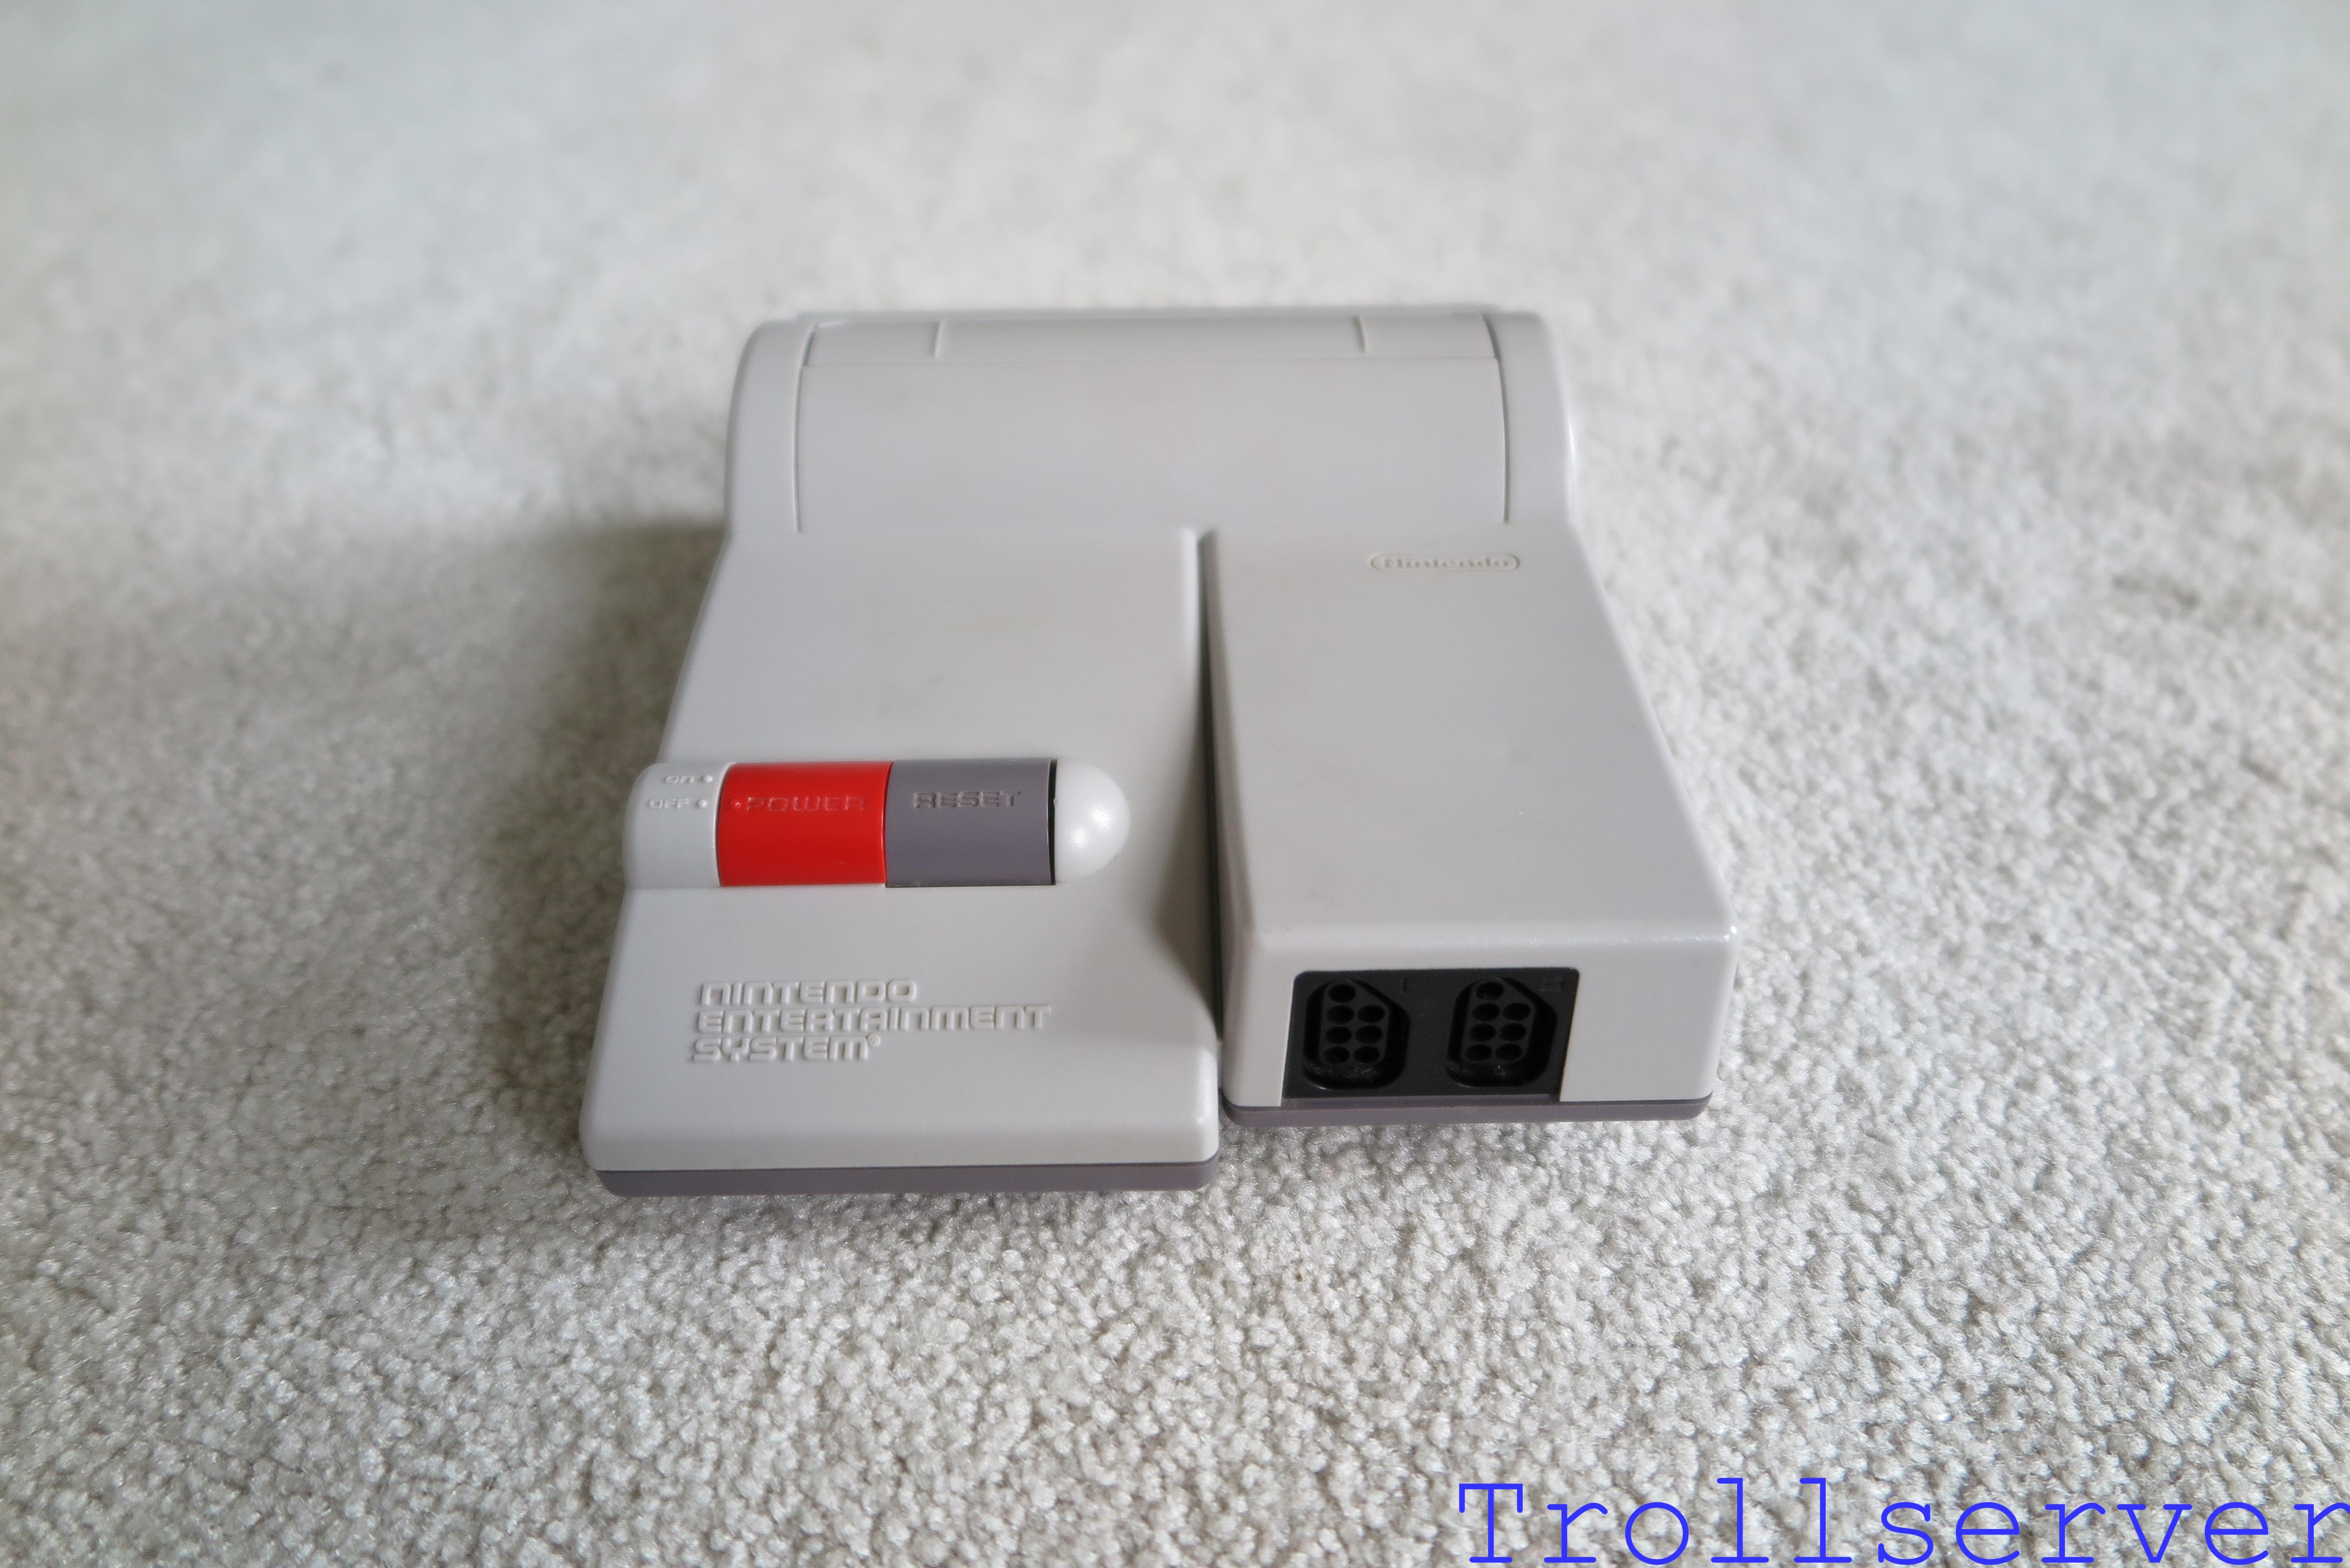
This cheaper and smaller system tried to address several problems at once. First, the security chip was removed. That means there is no chip in the system that needs to talk to the games anymore and thus there could not be a failure to do so. (Good bye blinking screen!)
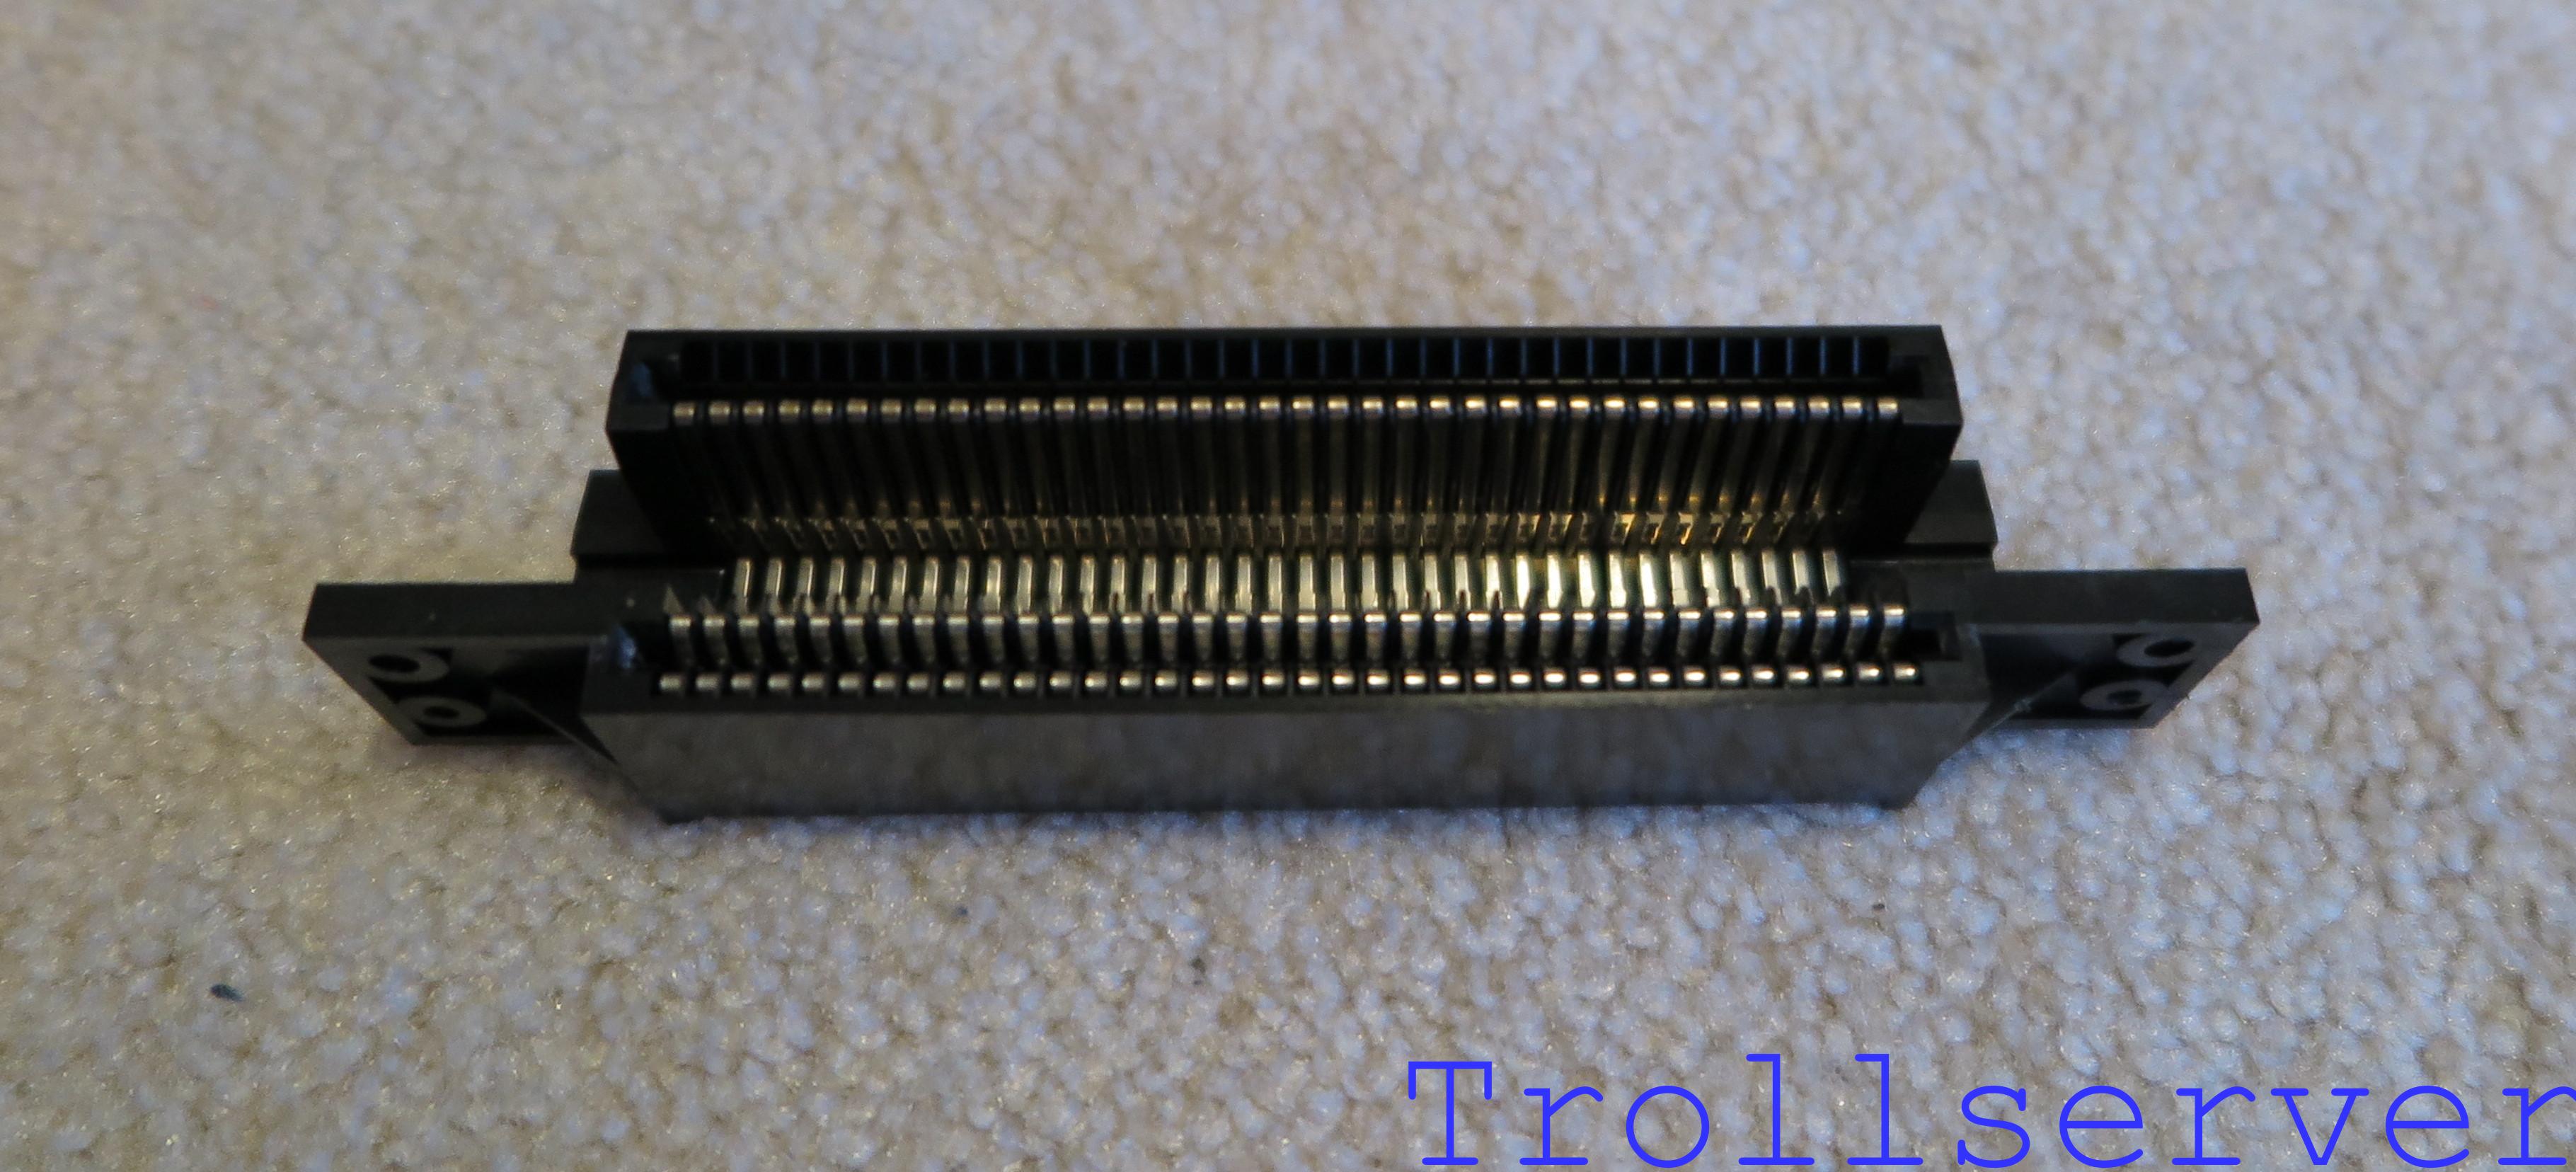
Second, the zero insertion force 72-pin connector from the toaster style NES was replaced with a straight in connector like what you would find on essentially every other cartridge based video game console created at that time. (Games now insert into the top of the system instead of the front.) Here is the dreaded 72-pin connector from a toaster style NES:
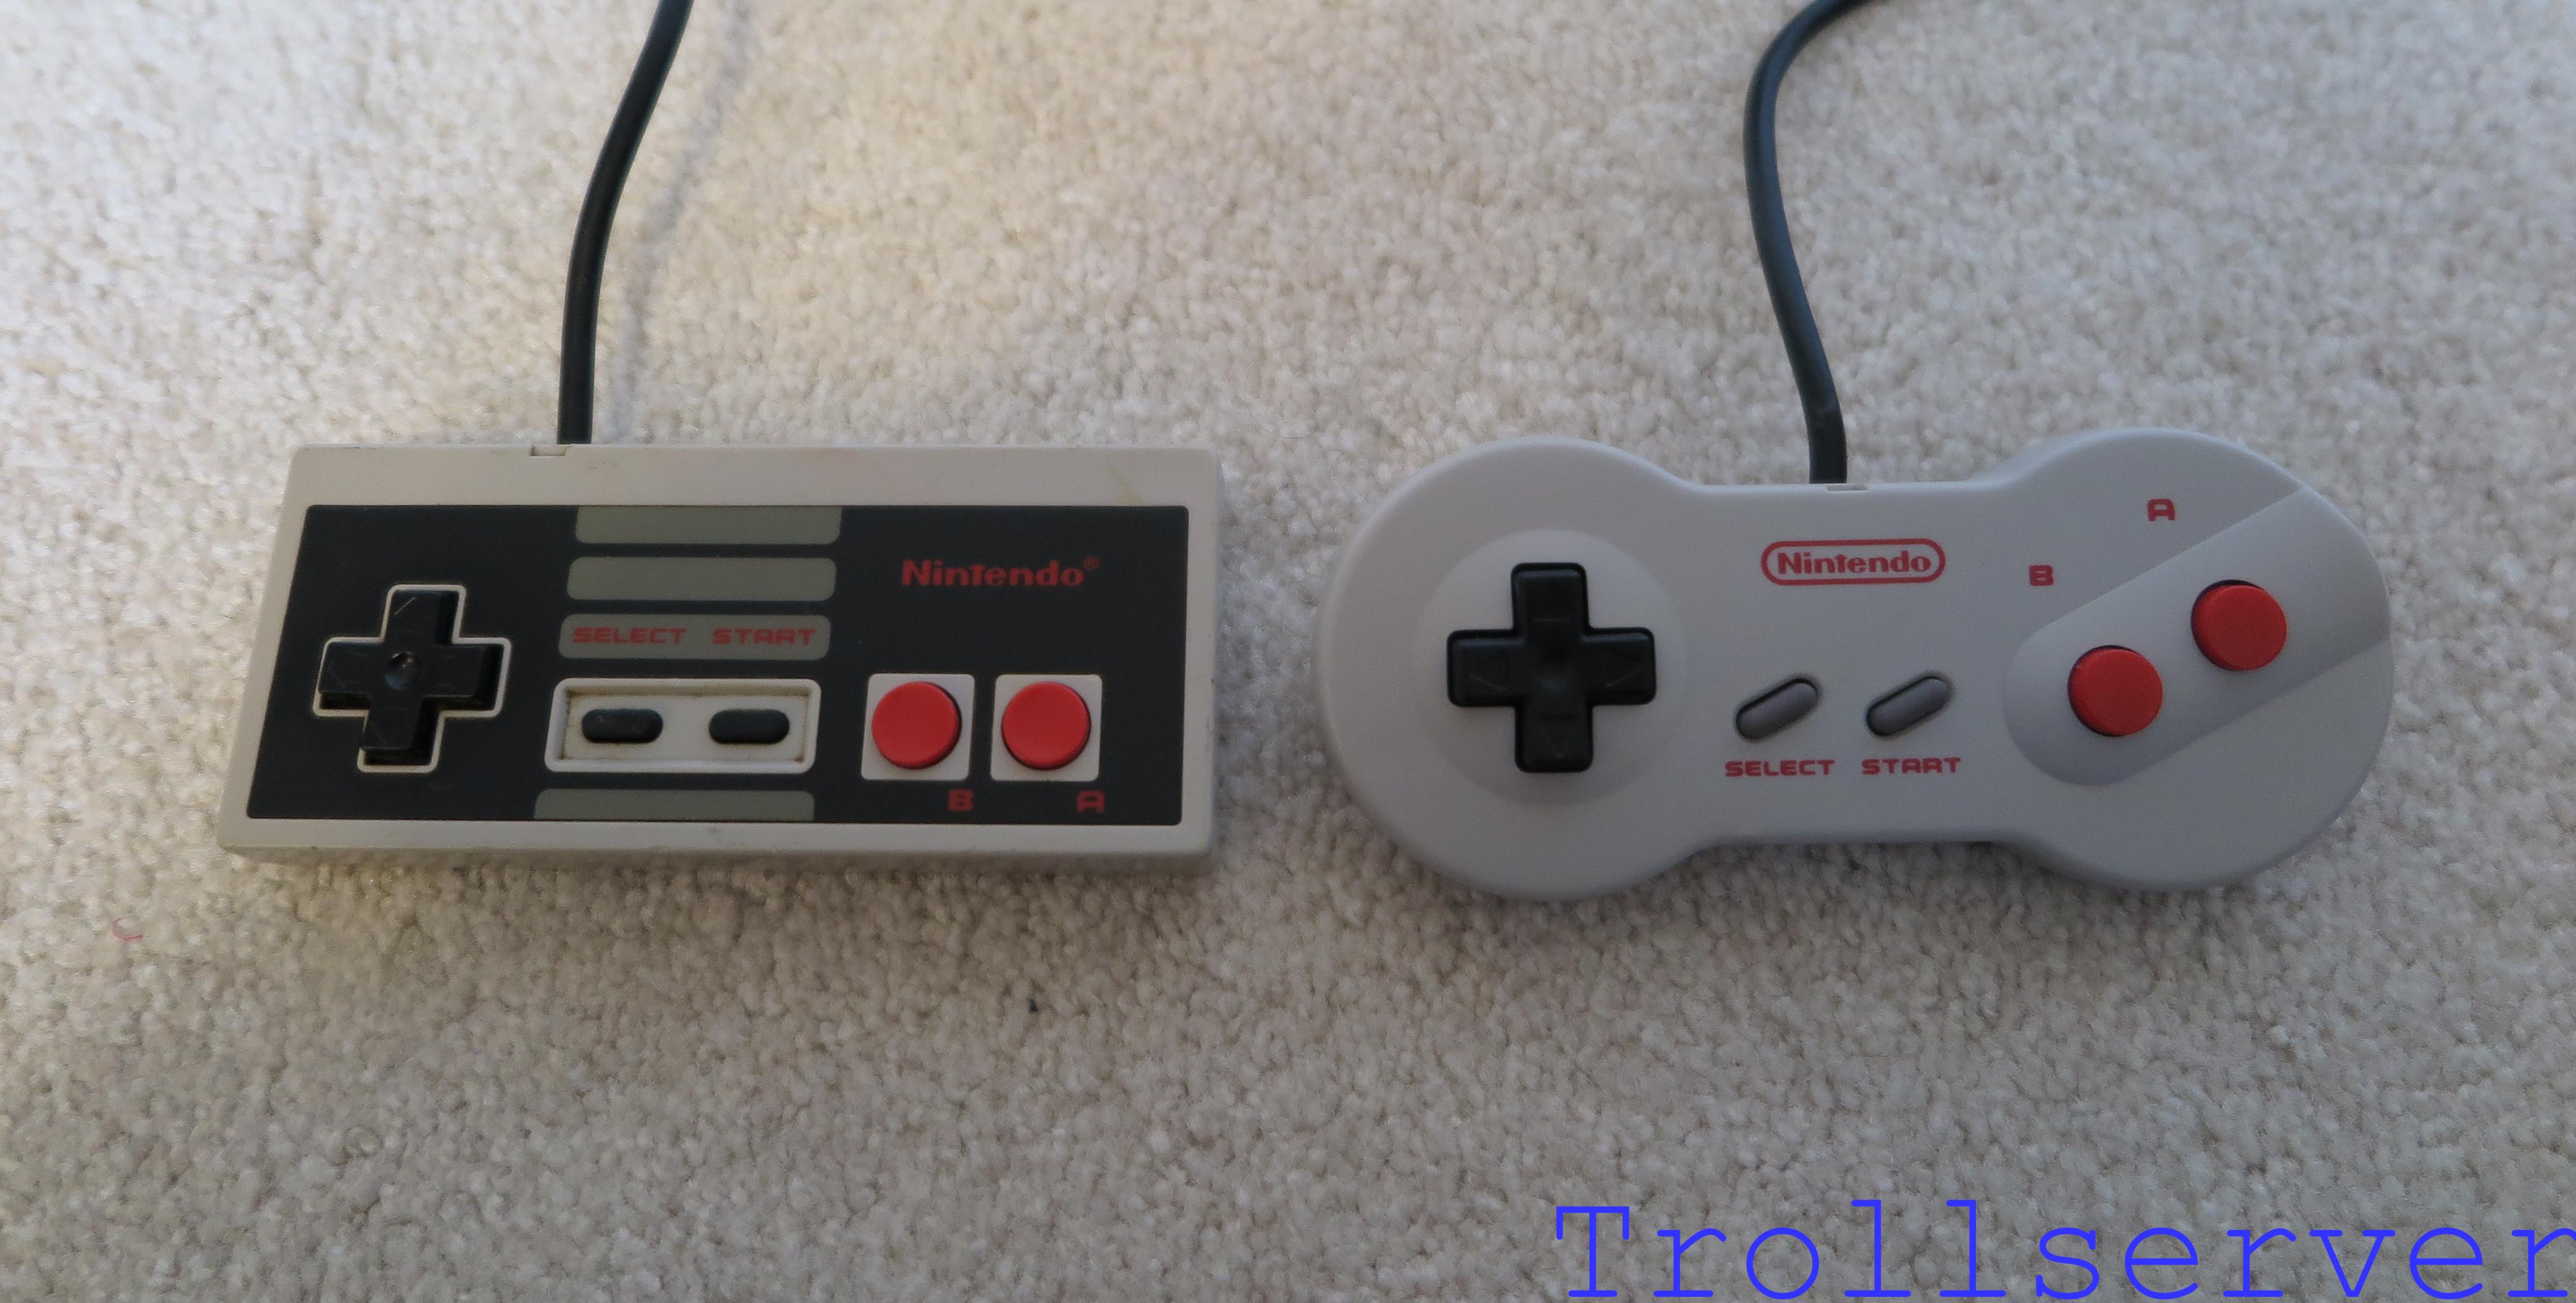
Third, the square edged controllers were replaced with considerably more comfortable “dogbone” style controllers. Imagine a Super Nintendo controller with less buttons. This is a comparison of the two controller styles. The original is on the left and the newer dogbone style is on the right.
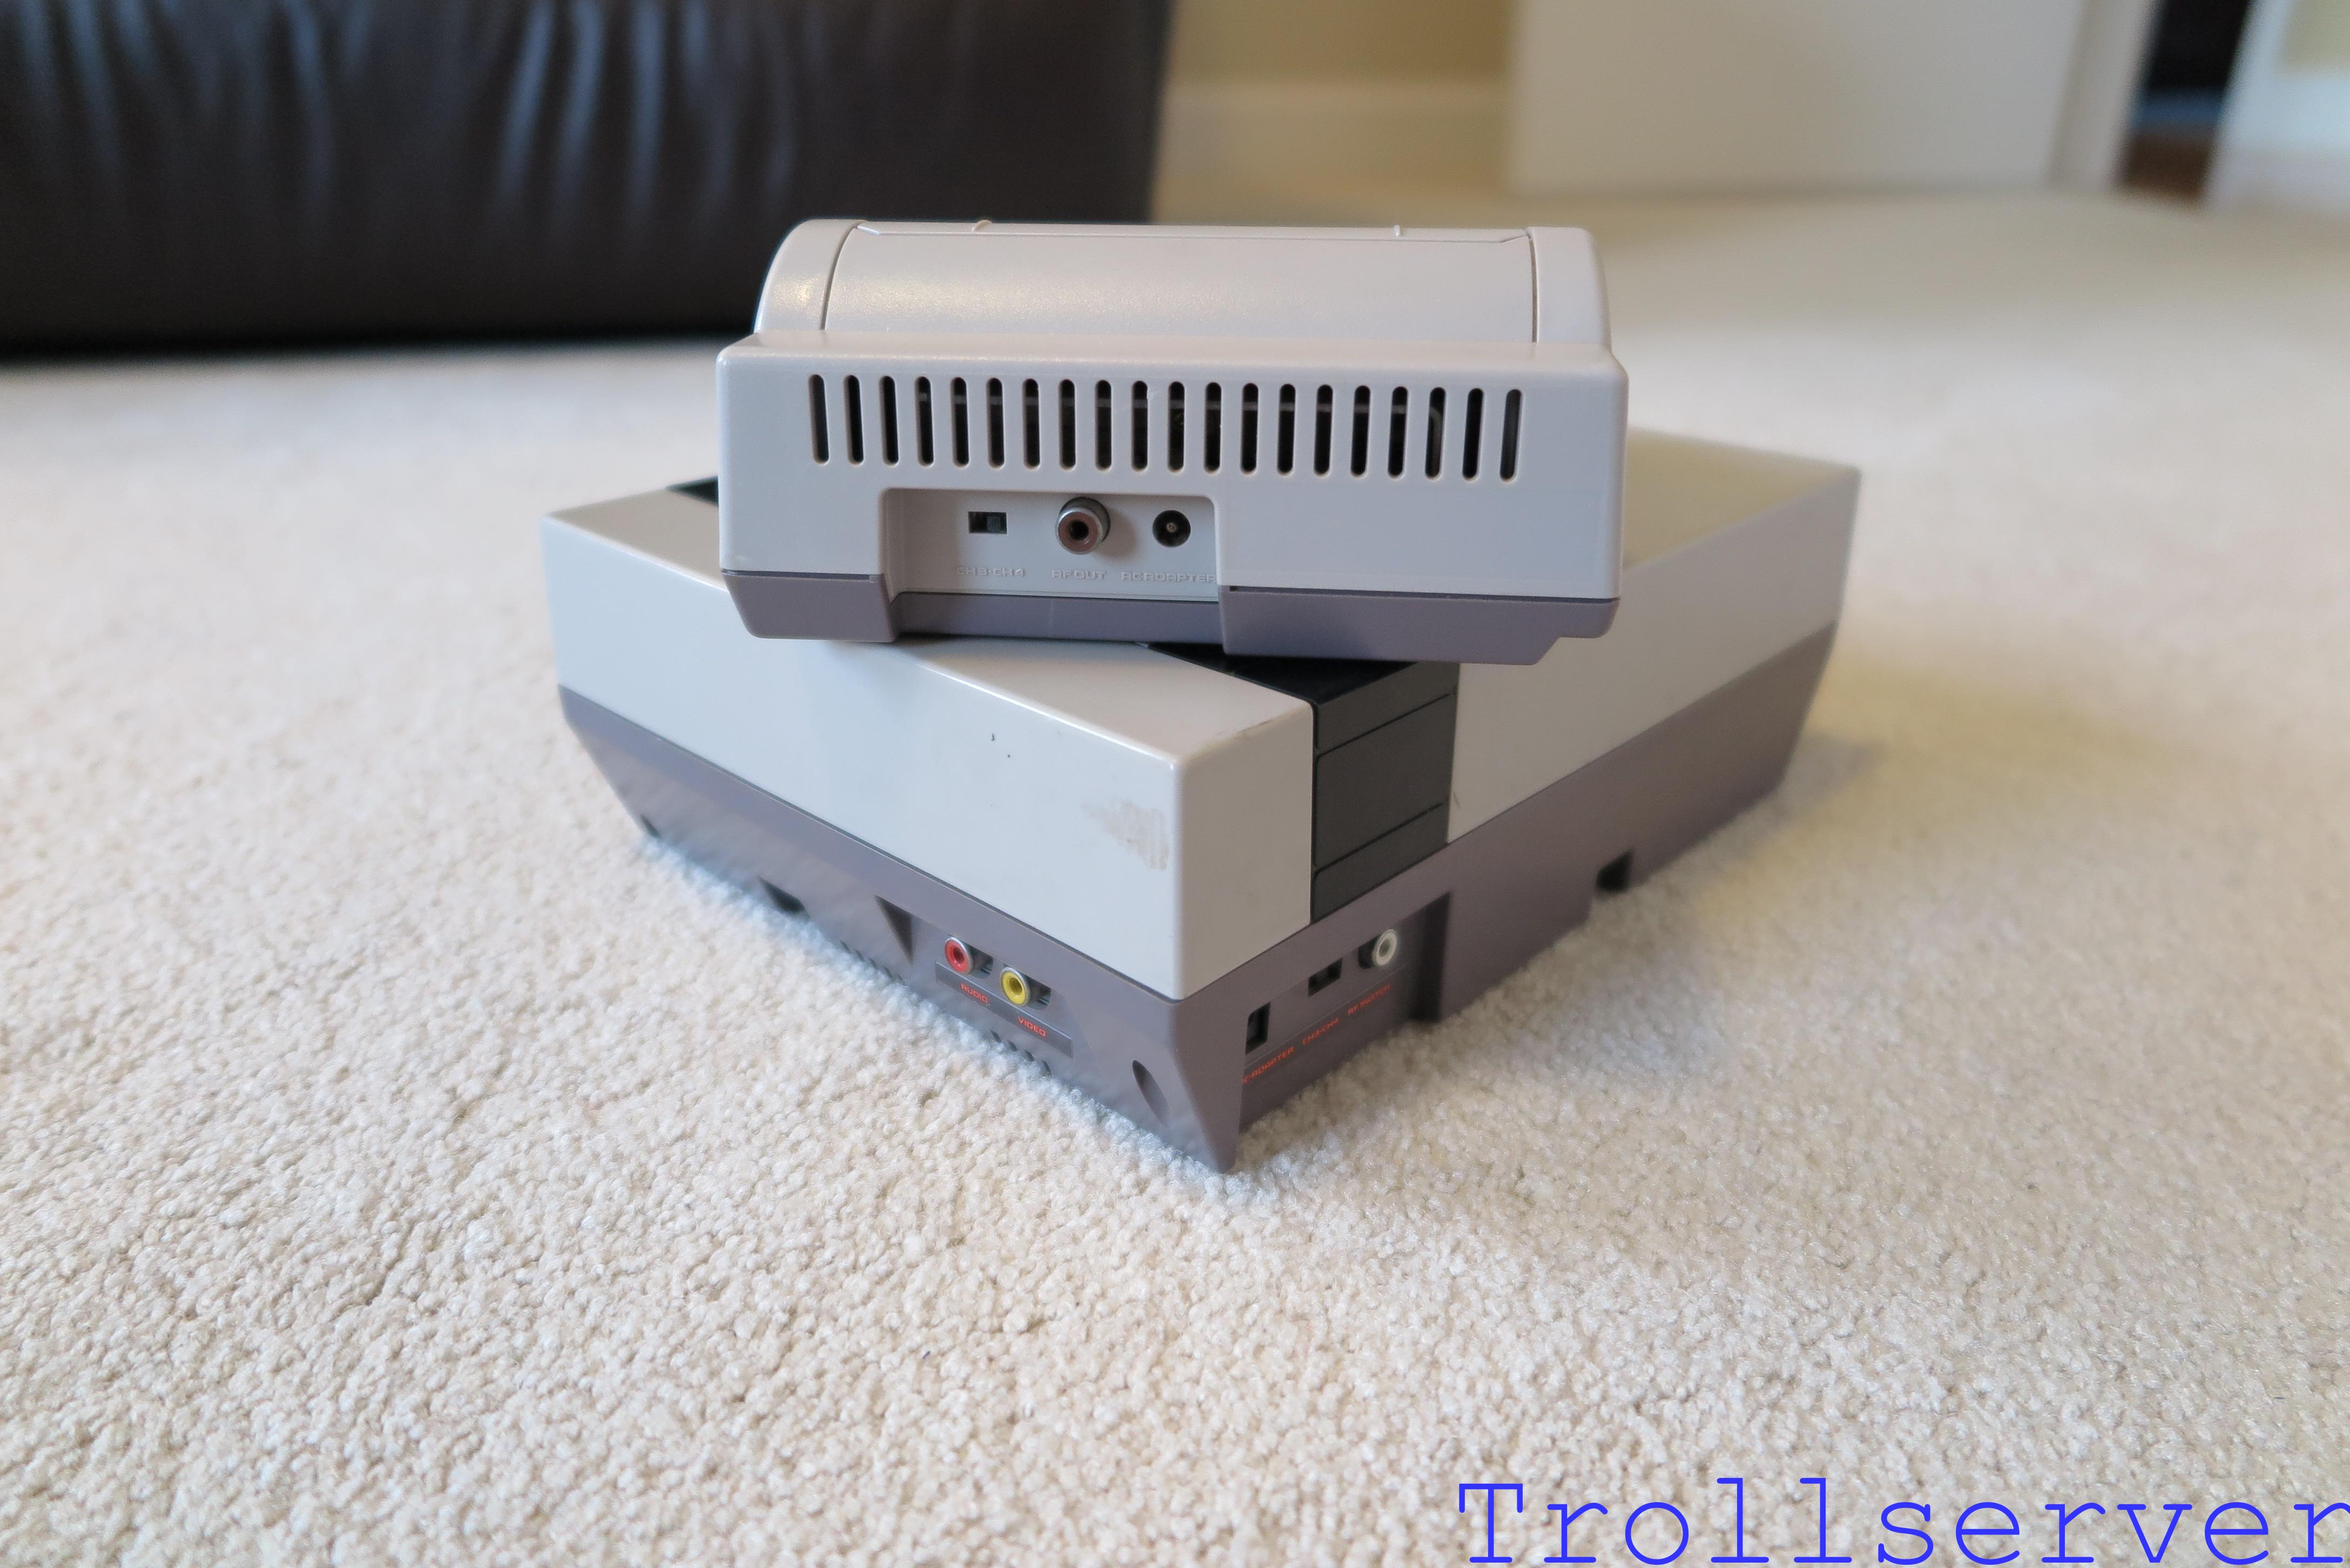
Finally, to make the system cheaper, they removed composite video output. (Wait, what? Yes, they really did.) This image shows all of the outputs on both a toaster style NES and a toploader. The back of the toploader (top) has three things. From left to right they are the channel 3 or 4 switch, the RF output, and the power input. The toaster style (bottom) has composite audio output and the composite video output on the side and then on the back it has the power input, the channel 3 or 4 switch, and the RF output.
One of the side effects of removing the composite output is that it now had to be hooked up to your TV through a single wire using an RF signal. (Radio Frequency, often referred to as cable or antenna input on your TV.) This resulted in video quality issues that were common back in the days of the Atari (and less noticeable because the graphics were horrible to begin with), but that you likely hadn’t seen in a very long time on your NES. If you had both a toaster style NES and a toploader to compare to, you likely noticed that the video quality was way worse on your toploader. Everything was blurry and noisy (a side effect of combining the audio and video together to go down the line as an RF signal) and worse, for reasons I can’t fully explain, there were now “jailbars” in the picture.
Jailbars are vertical lines in the picture where variances in color produce visual artifacts. This seemed to be especially obvious in large areas of blue. What was intended as a uniform blue sky, for example, would look like a mess of blue vertical stripes of at least two different blues. In a word, it is hideous and distracting. Which I suppose is actually two words, but you get the idea. It wasn’t good.
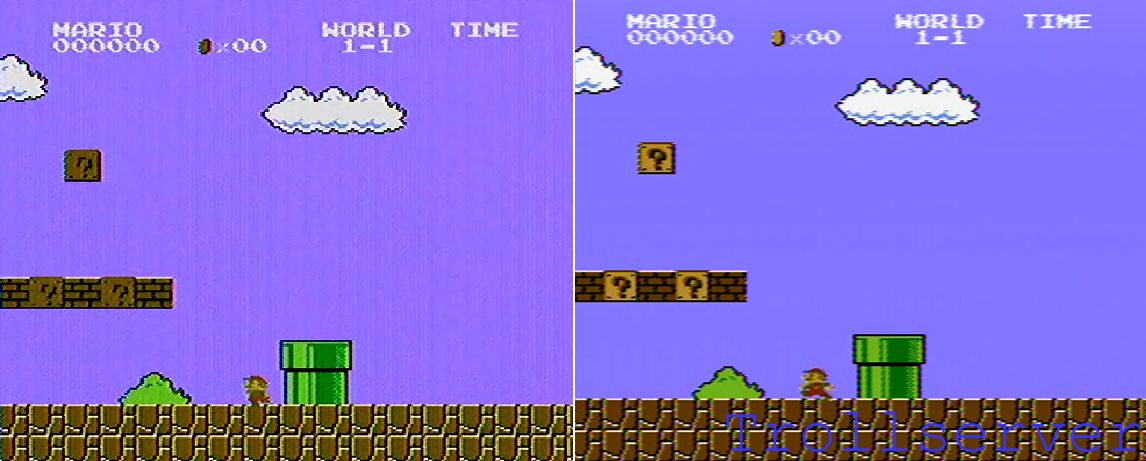
This is a side by side comparison of the actual video coming from a toploader both before and after the mod. Before is on the left and after is on the right.
The good news is that adding AV output (specifically composite output) to an NES Toploader is actually a relatively simple operation. The better news is that with a little bit of “potentially destroying your NES” you can get rid of the obnoxious jailbars at the same time. (Don’t worry, it’s both optional, and no where near as scary as it sounds.) If you want to play NES games with pretty video and without the flaky behavior of a toaster style NES, read on. I’ll walk you through every step with as many useful pictures as I can capture.
To jump between posts in this series, please visit the NES Mod Index.