NES Toploader AV Mod – Output Comparison
To jump between posts in this series, please visit the NES Mod Index.
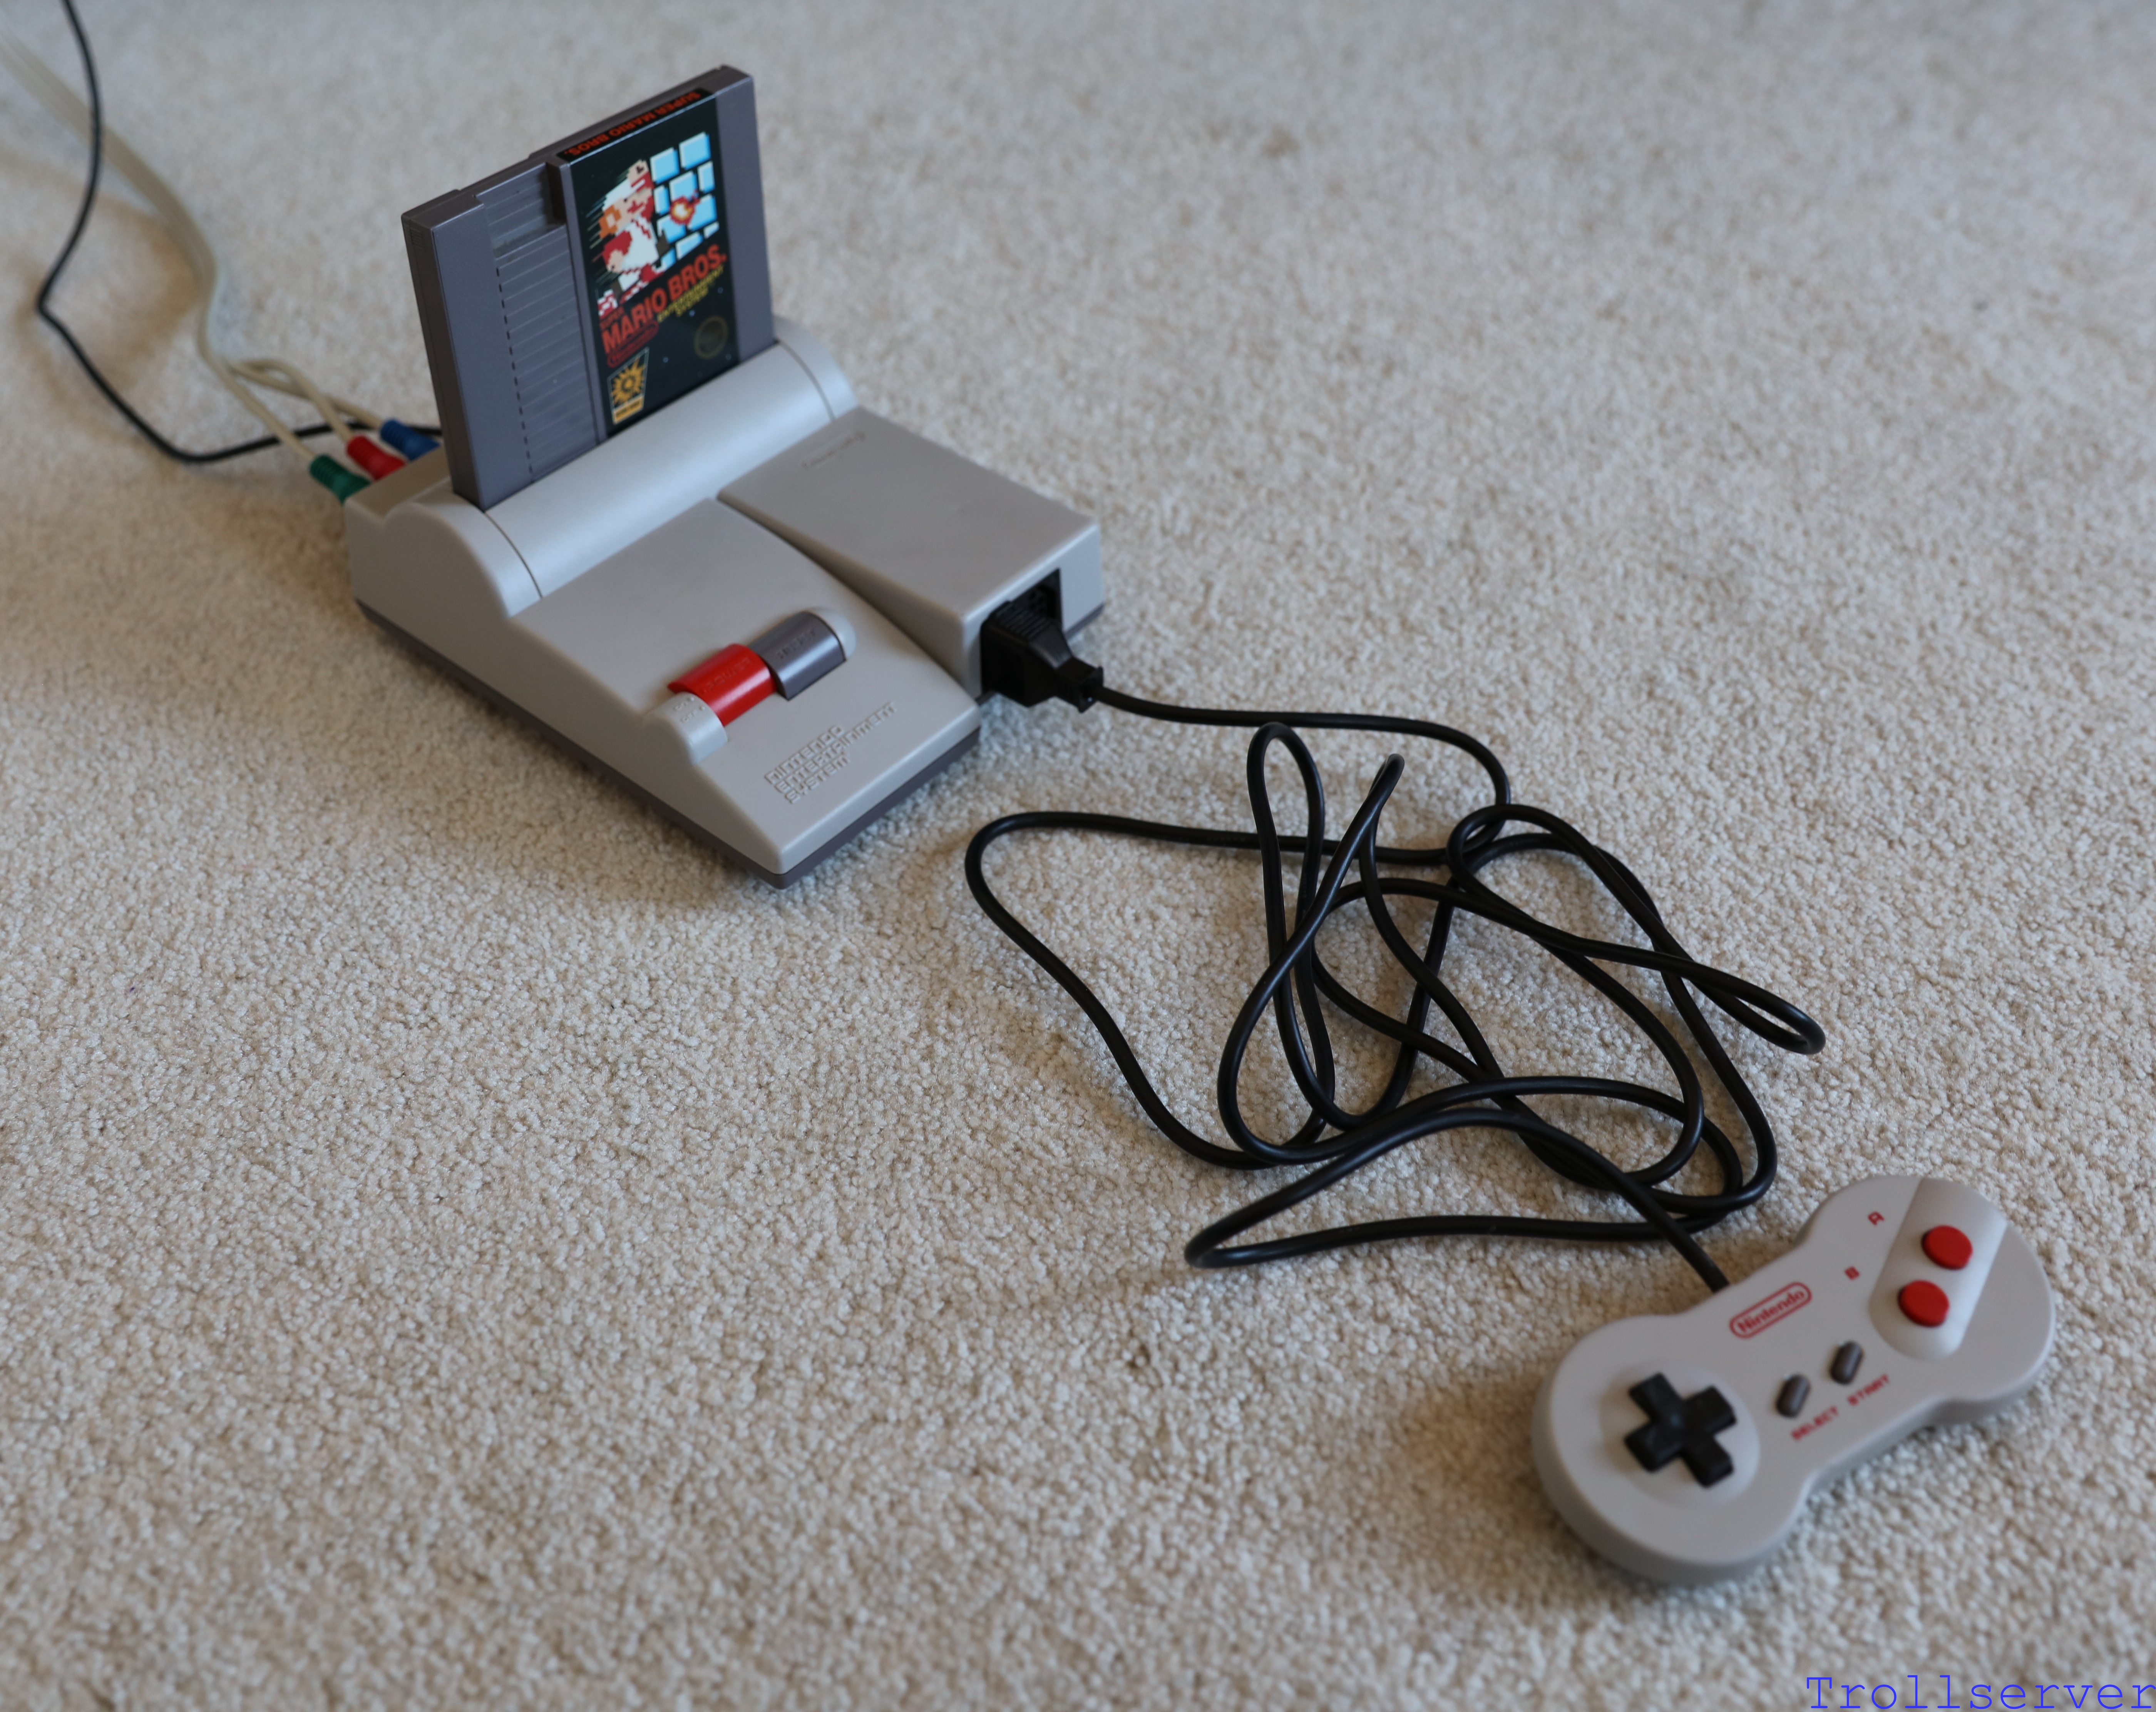
This post documents my efforts to capture before and after videos of the NES AV mod. It represents literally weeks of attempting to get a good recording of a few games both before and after the mod. This was further complicated by the fact that once a NES is modified to have an AV mod the way I describe it in these articles, there is no going back. Thus I actually bought a second NES Toploader for the before videos and used one I’d previously modified for the after. It’s a little backwards I guess, but I promise the NES Toploader that I modified through this series of posts works perfectly, so it’s not really cheating.
These videos are all of the demos from the games so they are essentially identical before and after. I did this to keep my less than awesome playing skills from making the videos different. For each pair of videos I’ll try to point out some of the more hideous problems in the before video and when you watch the after video you can simply note how much improved they are.
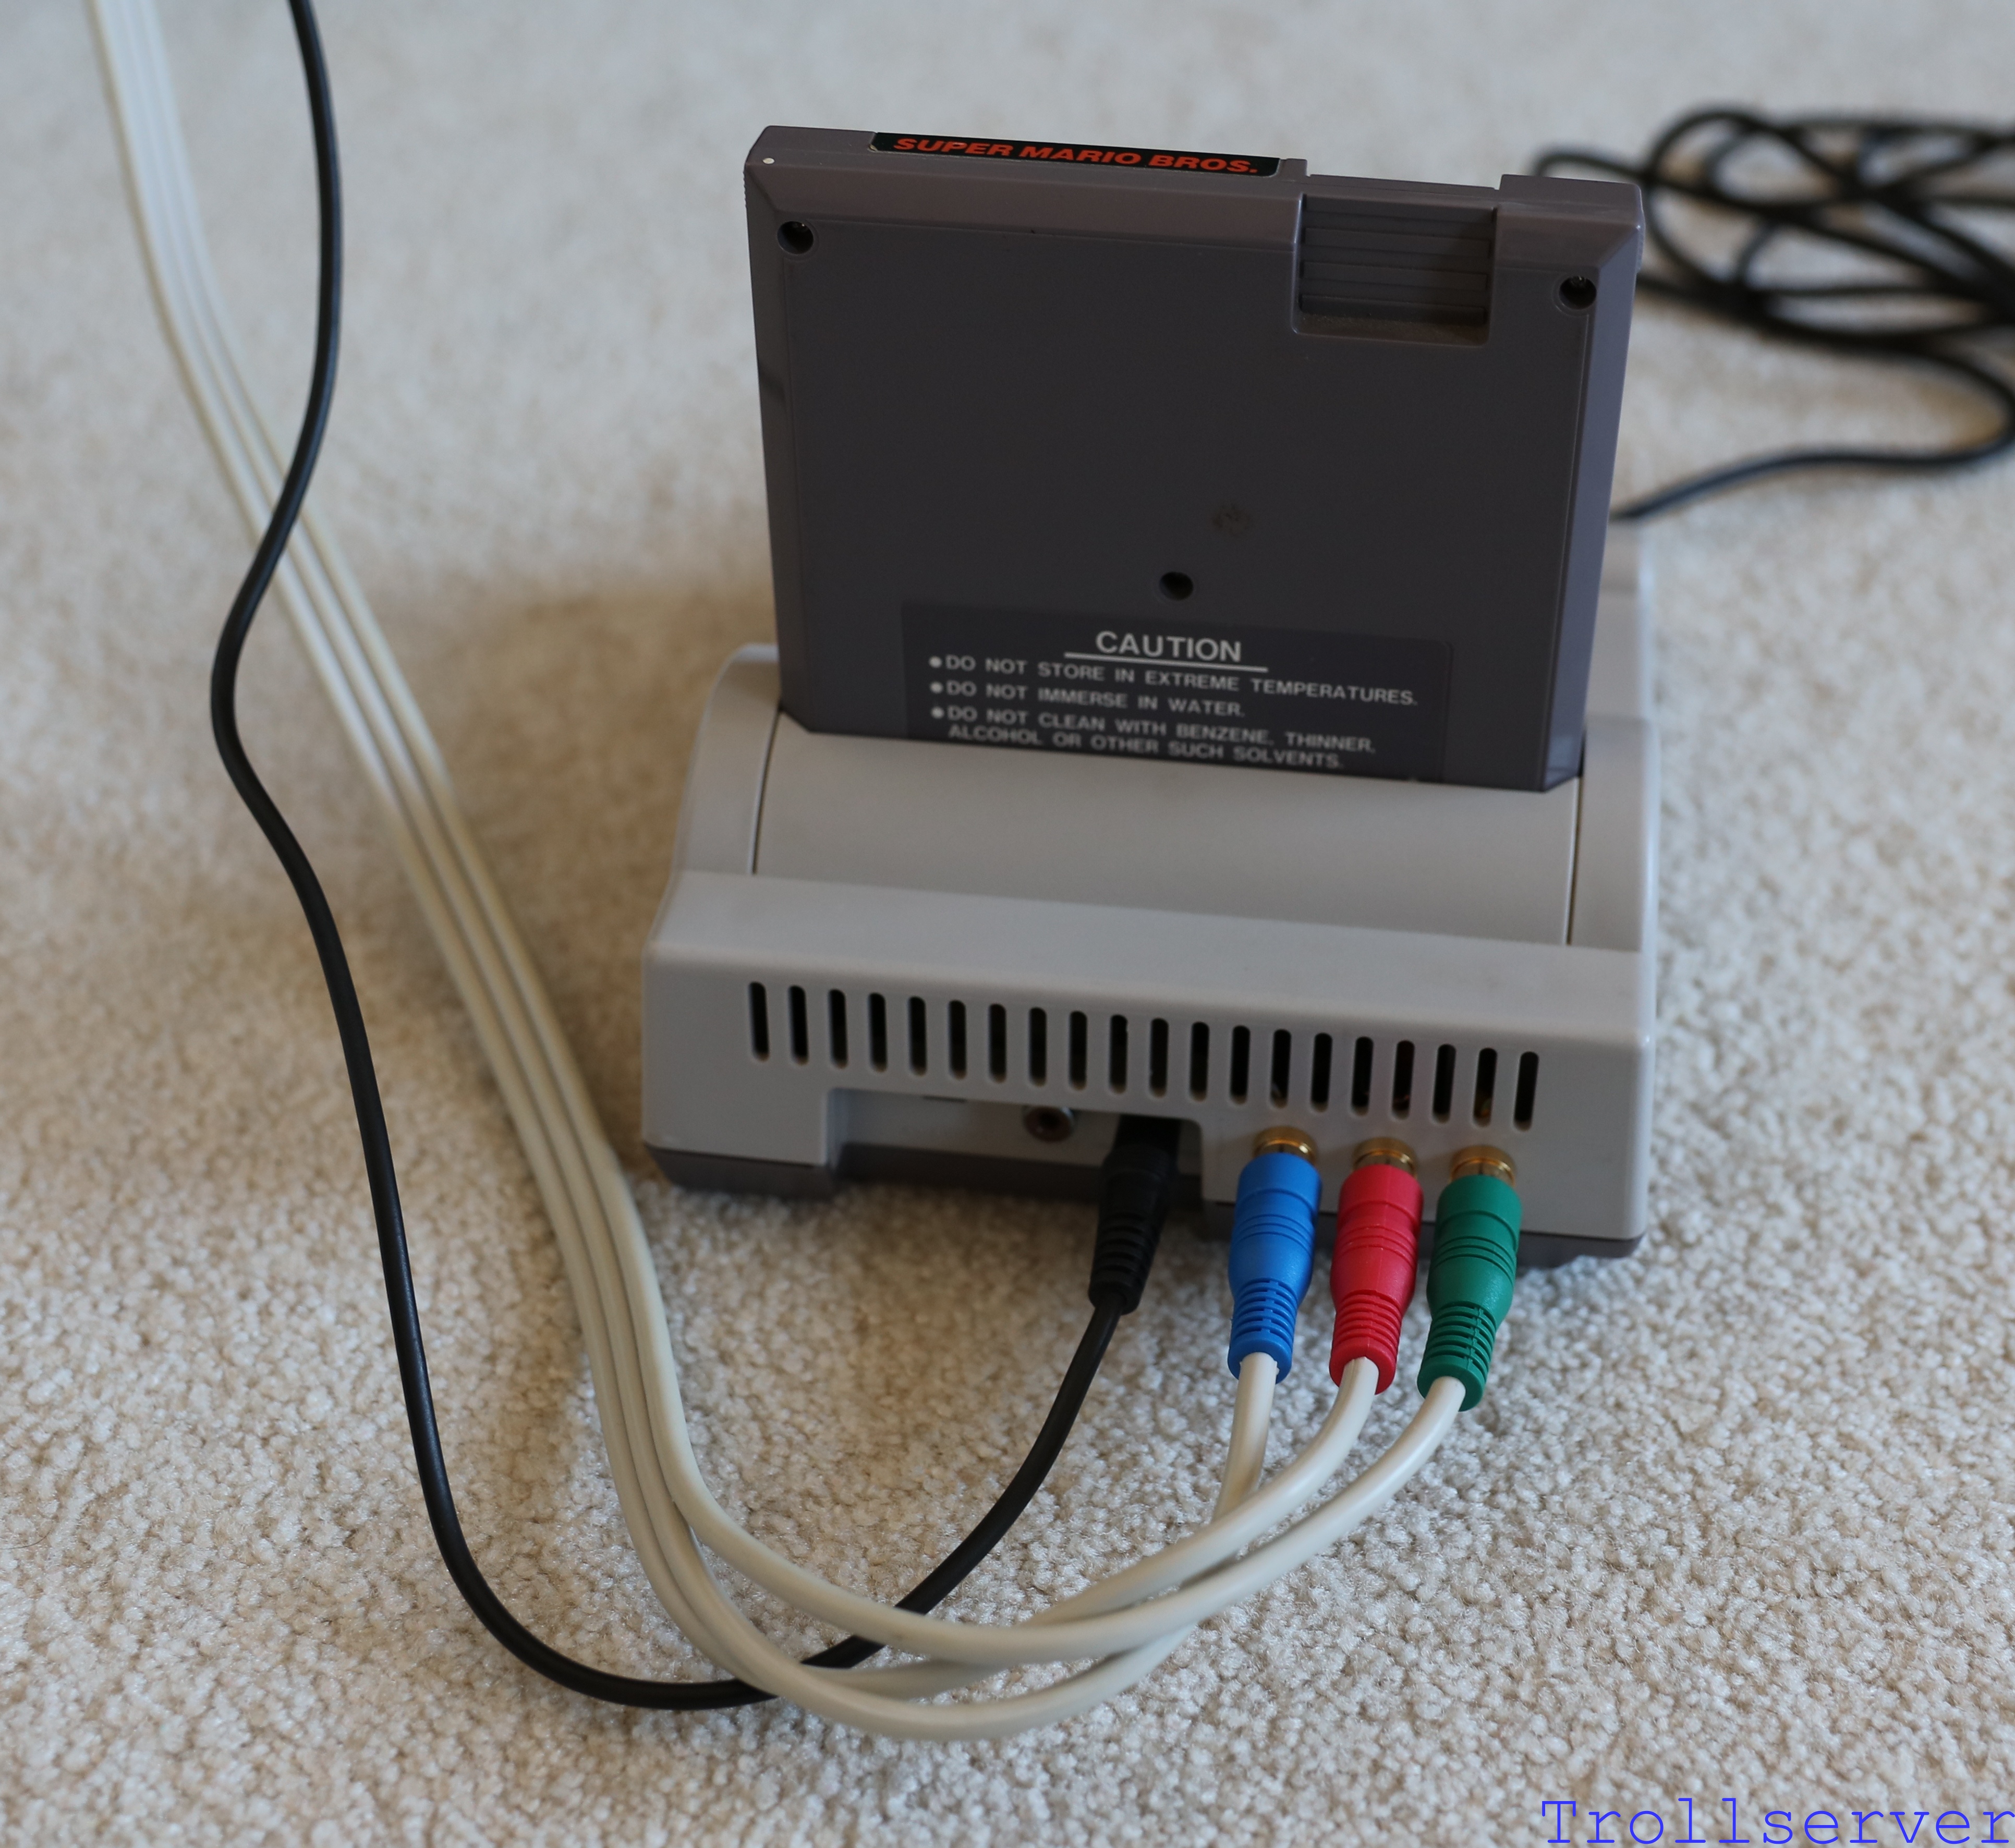
First, I compared the game that almost everyone has multiple copies of. Good old Super Mario Bros. The changes on this one are mostly visible in the blue sky and the general blurriness.
Super Mario Bros – Before
Super Mario Bros – After
Now with that behind us, I figured it was time to get into other games that really show just how bad it is. After all, it’s my opinion that all NES Toploaders should be modified with the AV mod. Next in the line up is a comparison of Contra before and after the mod. Note the blue of the water in the first part of the demo and the gray color of the walls in the second part.
Contra – Before
Contra – After
Finally I’d like to show you RC Pro-AM and I apologize in advance that the title screen plays music and does nothing else interesting for almost 30 seconds before going to the demo. (Skip to around 25 seconds if you’d like to shorten it.) For this game, note the cars in the title screen for visual artifacts and once the demo starts the green grass is especially bad but the road isn’t great either.
RC Pro-AM – Before
RC Pro-AM – After
Thanks for following along through this series. Hopefully it’s been educational, informative, and useful. If you’ve modified your NES Toploader, I hope you were successful. If you were considering modifying a NES Toploader and haven’t purchased one yet because you wanted to make sure it was worth it, I hope I’ve convinced you.
To jump between posts in this series, please visit the NES Mod Index.